How to complete the Heroic Blind Well in Destiny 2
Learn the best way to defeat the bosses in the Heroic Blind Well in the Dreaming City.
Now that the Last Wish raid has been completed, the Blind Well can be charged further, turning it into a Heroic Blind Well activity. These Heroic events are extremely challenging, have a recommended Power of 580, and have a rotating boss every week. Completing a Heroic Blind Well is no easy task, but with enough knowledge and correct player count, it’s possible to claim victory.
Starting a Heroic Blind Well event
Before attempting a Heroic Blind Well, players will need to know how to start the end-game activity. After completing a Tier 3 Blind Well event, the central pedestal can be charged further using an Unstable Charge of Light. Players will have a few seconds to make it back to the center and input the Unstable Charge of Light, else the Tier 3 will be considered complete and the reward chest will spawn. As soon as the Unstable Charge of Light is inserted, the Heroic Blind Well will begin.
The following will be updated with each new version of the Heroic Blind Well.
Sikariis and Varkuuriis, Plagues of the Well
The first Heroic Blind Well event that was available after the Last Wish raid was completed was a fight against two Scorn Kells, Sikariis and Varkuuriis. Defeating these two Scorn requires players to remove their immunity shields, though the shields do not respond to standard weaponry.
To remove the immunity shield, players must kill the Screebs that spawn around the Scorn bosses. Killing the Screebs causes them to explode, removing part of the boss’ shield. With the shield completely removed, the boss will be vulnerable to attack. The best strategy is to focus on taking down one Scorn boss at a time, as trying to take them both down splits the group’s damage output, potentially jeopardizing a clear.
Cragur, Plague of the Well
Cragur, Plague of the Well, is a giant Hive Ogre that comes with his own immunity shield. In order to break the shield, players must kill specific yellow-health Hive enemies and throw the relics they drop at Cragur. These relics can be charged up by throwing them between players, which increases their damage, allowing them to remove a greater percentage of Cragur’s shield.
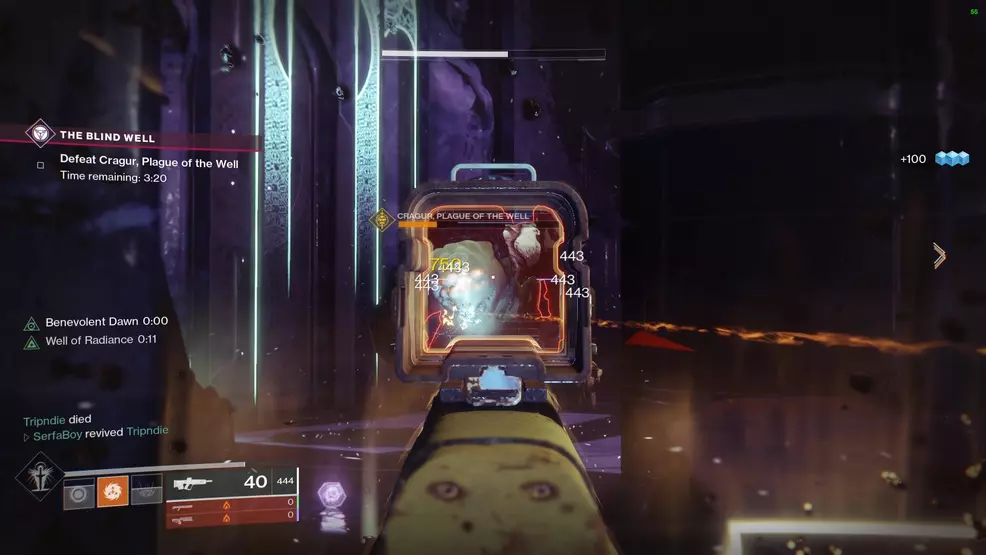
Once Cragur’s shield is down, players can deal damage to the Ogre for roughly 20-30 seconds before the shield reappears. Cragur can potentially die within this timeframe, but if he doesn’t, additional relics must be collected and thrown at its new shield.
The relic-holding enemies spawn in set locations. The first are two Wizards to the left of Cragur, the second are two Ogres to the right, and the final are two Knights directly across from Cragur. Find them, kill them quickly, charge up the relics, and then throw them at Cragur to make it vulnerable.
Inomina, Plague of the Well
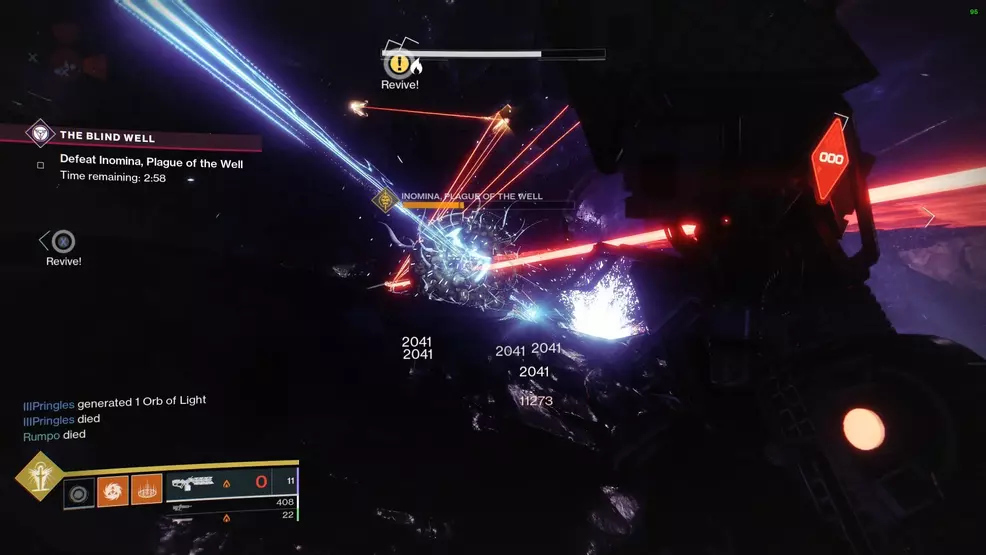
Inomina is another Plague of the Well boss that players can encounter during a Heroic Public Event in the Dreaming City. At this point, every player should know how to take down Inomina, as it is an exact duplicate of the Chimera that players fought at the end of the Destiny 2: Forsaken campaign.
When Inomina spawns, it will be completely immune to damage and will have a tether coming from it connected to a Taken Blight. Destroy the Blight and then destroy the tether to lower Inomina’s shield. Now that Inomina is vulnerable to attack, deal as much damage as possible until its shield returns. If the shield does regenerate, simply locate the next Taken Blights and destroy the tethers.
Inomina, Plague of the Well, is by far the easiest Heroic Blind Well boss to defeat. Most teams should be able to burst it down in a single damage cycle using any number of weapons and builds, though ideally a Well of Radiance with Whisper of the Worm or Sleeper Simulant will be the most efficient method.
Be sure to check back as this guide is updated over the coming weeks as more Heroic Blind Well bosses are revealed. While you’re at it, take a moment to look over the Shacknews Destiny 2 Complete Strategy Guide for a comprehensive collection of guides.


