

Hawkmoon Exotic Hand Cannon - Destiny 2
Complete As the Crow Flies and Let Loose Thy Talons in Destiny 2 to unlock Hawkmoon, a powerful Exotic Hand Cannon.
Hawkmoon, an Exotic Hand Cannon from the original game, has finally arrived in Destiny 2. Players that want to unlock Hawkmoon will need to complete an Exotic quest involving our favorite new Guardian, Crow. Below are the steps for the quests, A Cry from Beyond, As the Crow Flies, and Let Loose Thy Talons, all necessary in acquiring this powerful weapon.
Hawkmoon – As the Crow Flies & Let Loose Thy Talons
The journey for Hawkmoon in Destiny 2 covers a few different quests with different titles, though they all get you to the same destination. First up is A Cry from Beyond, which is followed swiftly by As the Crow Flies (collecting five feathers), and then finally Let Loose Thy Talons, a step all about killing.
A Cry from Beyond

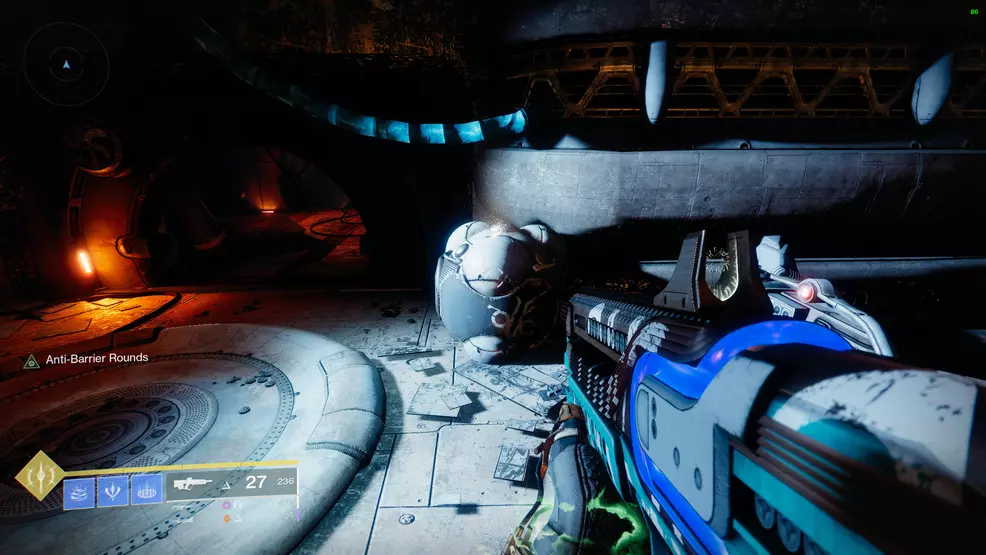
Head to the Tangled Shore and speak with Spider. Collect the Exotic quest from his inventory – it’s on the bottom line. This quest is called As the Crow Flies.
As the Crow Flies
This small part of the quest has you collecting five feathers around a few planets.
Feather 1
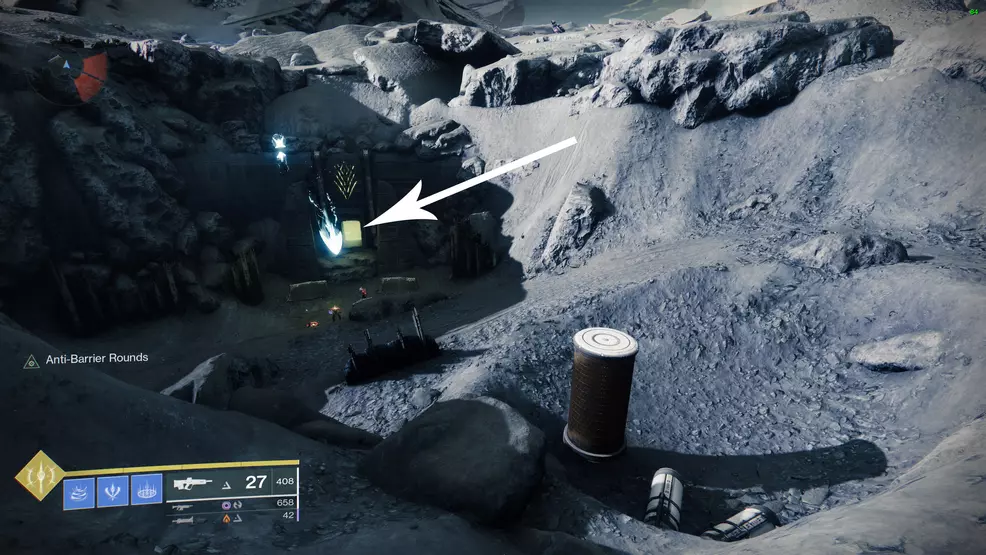
Search outside Spider’s lair to find a feather on top of a Fallen container. It will have some sparkling effects and twinkling sounds to help you find it.
Feather 2
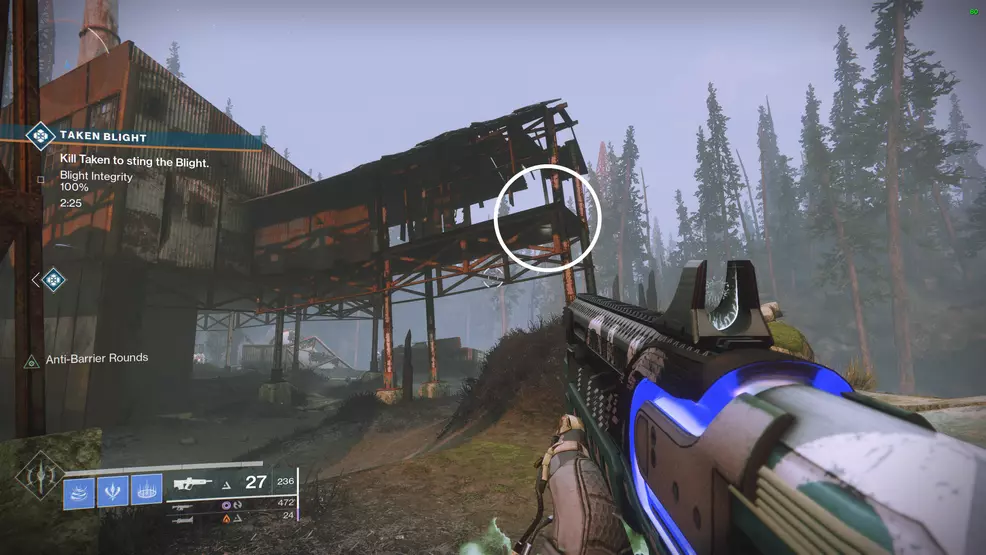
The next feather is located in the Sludge on the EDZ. Use the fast travel zone and move forward toward the cliff on the left. There will be an outcropping of the ruined building
Feather 3
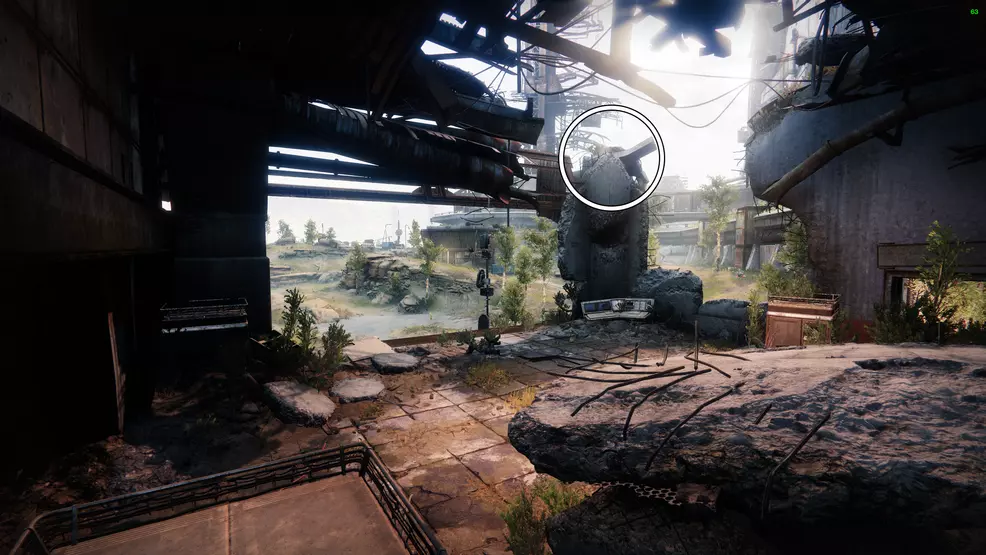
The third feather is in the Steppes in the Cosmodrome. Use the fast travel point at the Steppes and then look immediately to the right to see a computer terminal. Above this computer is a broken pillar, on top of which is the feather.
Feather 4
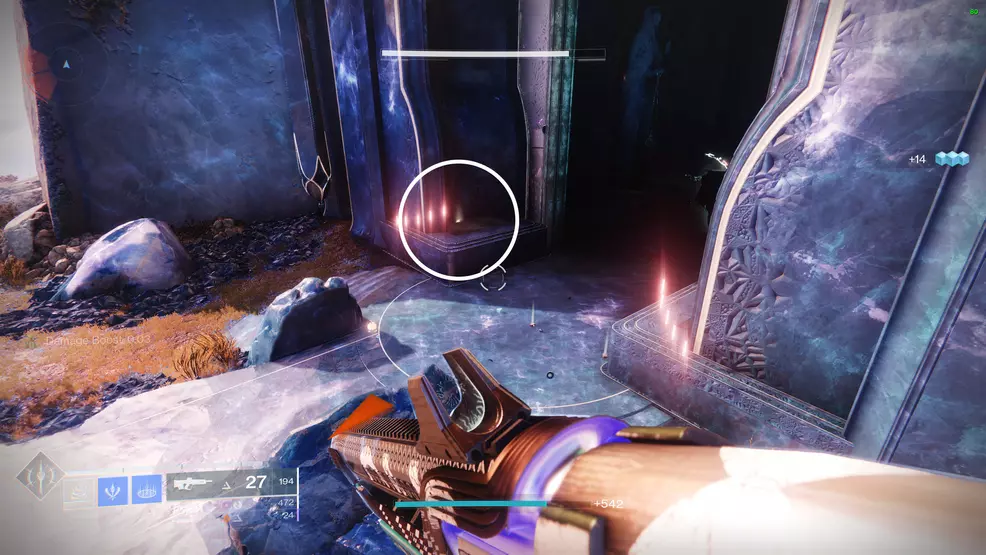
The fourth feather is in the Dreaming City, at the entrance of the main building in the Divalian Mists. Approach the building and look in the left alcove in the “doorway” to spot the feather.
Feather 5
The fifth and final feather is on the Moon in the Shrine of Oryx. Starting at the Sanctuary fast travel point, head left toward Archer’s Line and stick to the right-hand side. Go through the building with the domed roof, down the hill and into the entrance.
Follow this path down to the Hall of Wisdom and stick to the left-hand side. Go up into the next area and through the circular hall to reach the Shrine of Oryx. Follow the main path all the way to the end where the shrine is and look on the left side to spot the feather.
Speak with Crow
Talk with Crow in the Tangled Shore. Pick up his next quest, Let Loose Thy Talons.
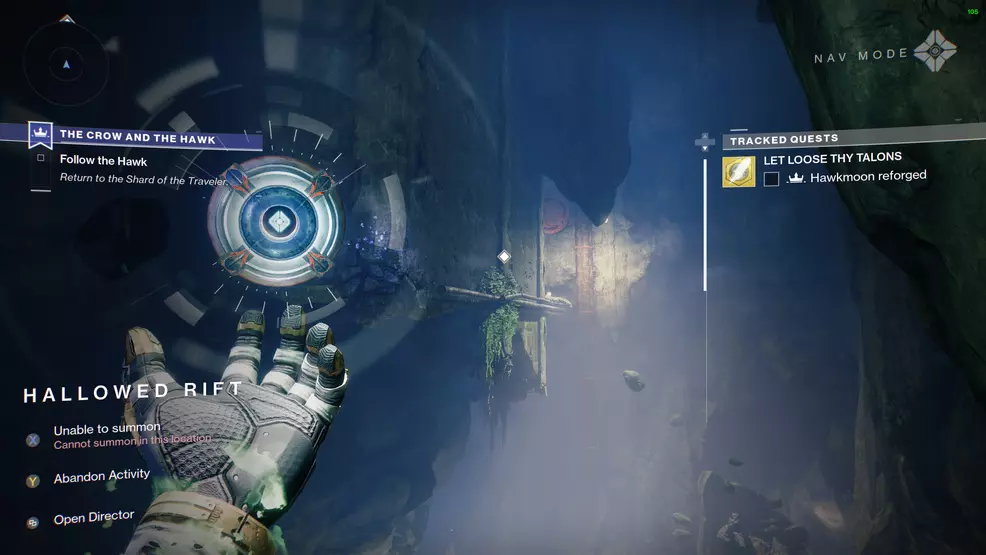
Let Loose Thy Talons
After finishing the quest, As the Crow Flies, the next questline is Let Loose Thy Talons. The reward for this quest is Hawkmoon and thankfully the steps are pretty straightforward, however, there is one that will take you a bit of time.
Complete Cry from Beyond mission

Travel to the Sludge in the EDZ and locate the hawk near the Hallowed Grove Lost Sector, this is where you start the Cry from Beyond mission. The mission is simple: fight your way through the Lost Sector to the end and then go through a new tunnel only accessible by crouching. This is a brand new area that has you traversing thin ledges with Taken pushy-walls. Continue following the hawk to the end at which point Taken will need to be defeated. Grab the effigy of Hawkmoon by the hawk to complete this step.
Speak with Crow
Skip on back to the Tangled Shore and talk with Crow about what happened.
Collect and generate Orbs of Power
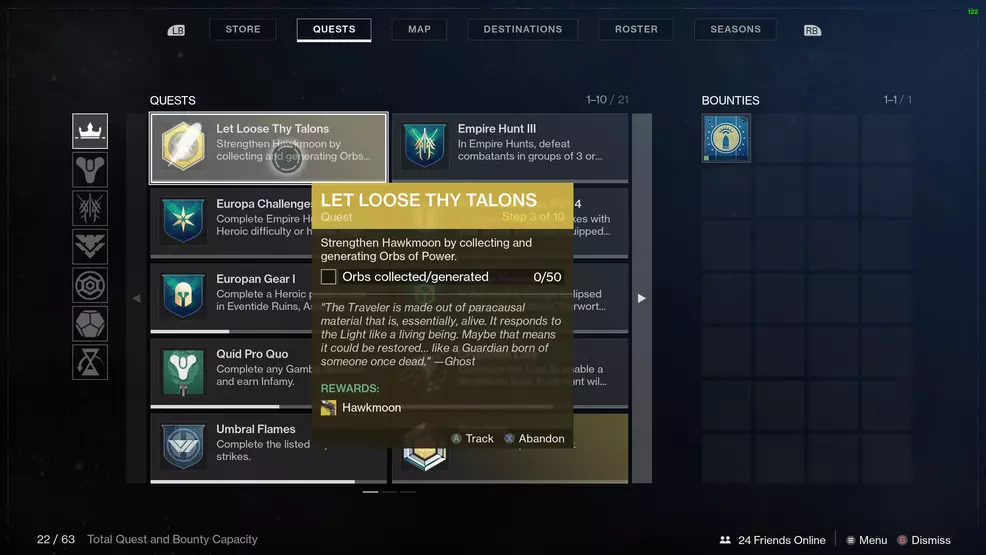
This step requires you to collect and/or generate 50 Orbs of Power. Head to a Lost Sector in the Tangled Shore and start defeating enemies with your Super or Masterworked weapons to get this done quickly – Kingship Dock Lost Sector is a good option. Generating Orbs of Power counts as does collecting them, so killing something with a Masterwork weapon and then collecting the orb is the best way to go.
Speak with Crow
Go back to Crow and chat with him again to receive the next step.
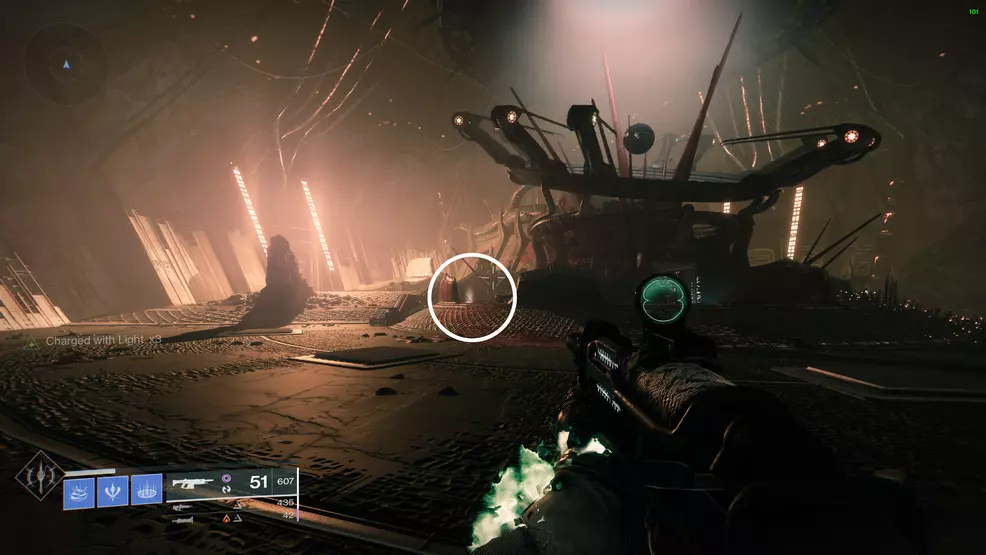
Investigate the coordinates

Head to Trostland in the EDZ to find the mission start point. The hawk is up in the ruins of a building just past Devrim’s hideout the church. The quest takes you through the ruins of the building and out to the dam. Follow the path along, being sure to collect the feathers marked on the HUD.
Eventually you’ll enter a large room where the Strike boss for the Lake of Shadows usually waits. Here you will need to defeat the smaller Acolytes and grab the energy they drop. Throw the balls at the boss to weaken its shield. It takes three charges to remove it entirely. Damage the boss until it leaves. When this is over, return to crow.
Speak with Crow
Go to the Tangled Shore and talk with Crow once again.
Defeat Guardians or Champions

The next step for Hawkmoon will have you defeating Champions or Guardians. You can either use one of the Legend & Master Lost Sectors for easy Champion kills or dive into Crucible. If you’re lucky, Mayhem will be active and you can get the kills across several fast matches.
A Champion in a Legend Lost Sector counts for 3%, so you would need to kill 33 Champions to get this step finished. Meanwhile, a Guardian kill is valued at 0.5%, meaning 200 defeats to get this step completed. You can swap and change between the two methods: do some Legend Lost Sector clears, switch to Crucible, then go try out a Nightfall or just stick to one.
Complete The Crow and the Hawk mission
With that last step finally out of the way, you will now need to go to The Sludge in the EDZ and complete a new mission, The Crow and the Hawk. This mission takes you back through the Hallowed Grove Lost Sector and its new addition. Instead of going down along a lower route, this time you will need to work along an upper path. It is extremely precarious, so watch your footing as you jump. The final room will have you defeating Taken. Defeat the Acolytes, grab the charges they drop, and throw it at the shielded enemies to remove their shield. Once everything is clear, you will be able to equip Hawkmoon.
Commune with the Traveler
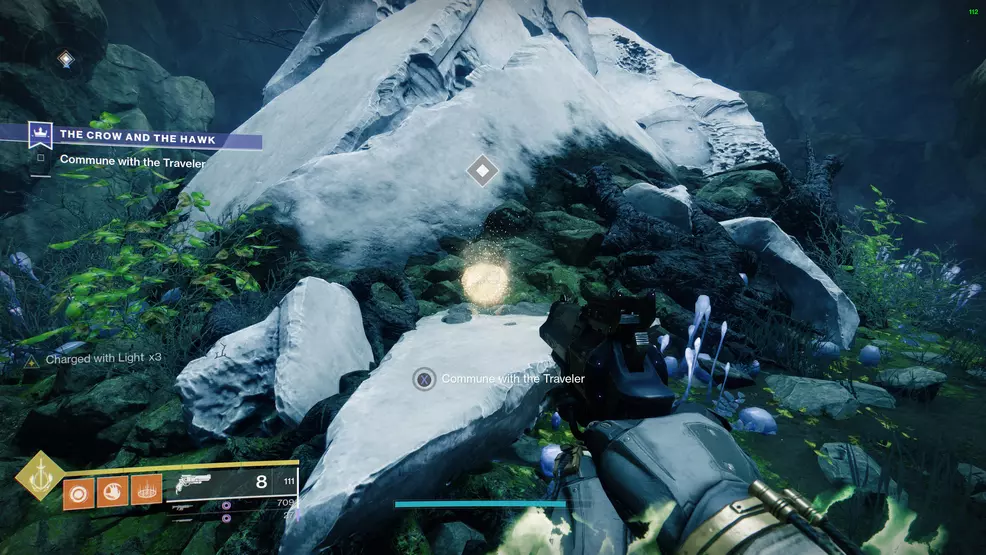
The next step of the Let Loose Thy Talons quest is to commune with the Traveler. Approach the hawk and interact with it.
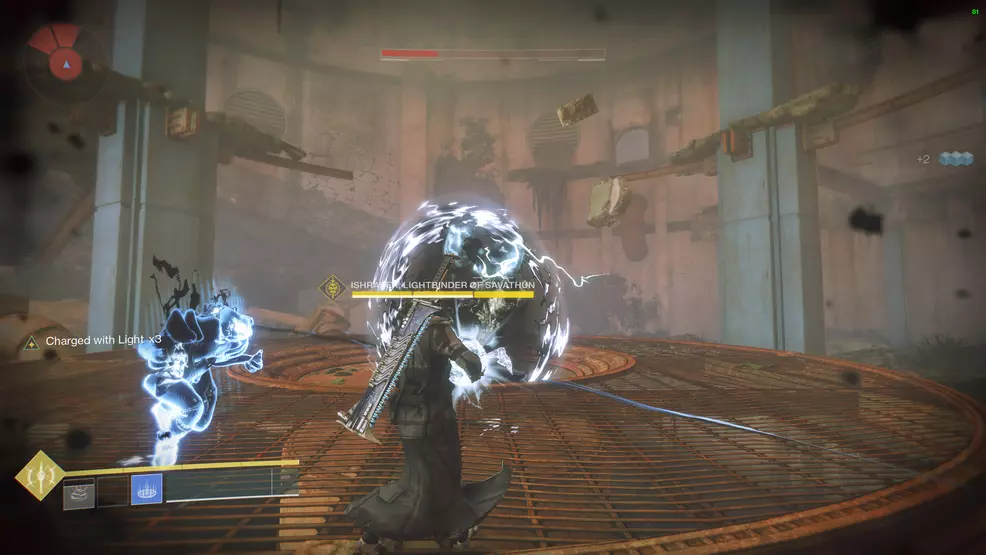
Defeat the Taken
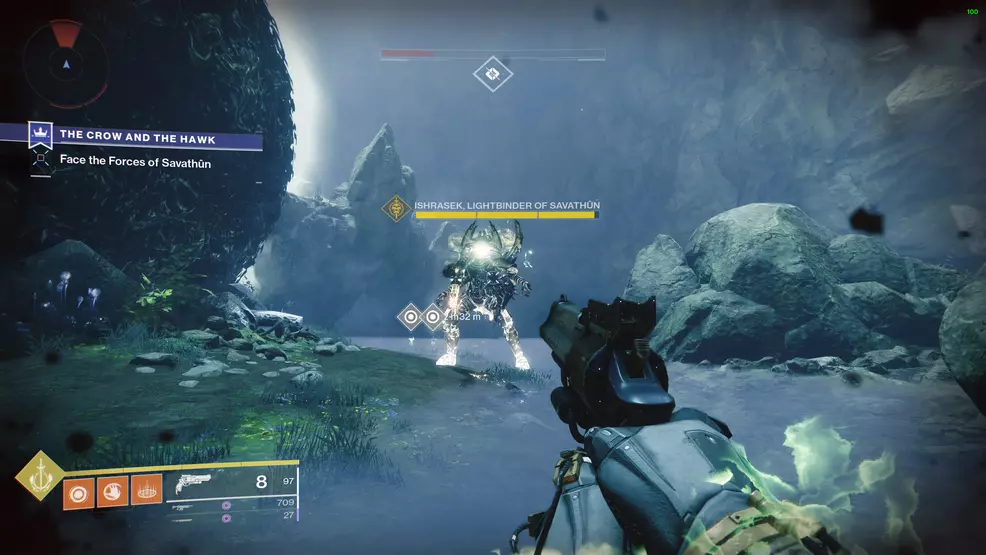
You will then be assaulted by Ishrasek, Lighbinder of Savathun. As you did in the previous encounter, defeat the Acolytes, collect their charges, and throw it at Ishrasek to remove its shield. It takes two charges will remove the shield. After dealing a bit of damage, its shield will recharge.
Hawkmoon perks

Hawkmoon is an entirely unique Exotic so far in that it is the only weapon that can roll with random perks. Every copy of the weapon you receive after the first will have random rolls. This means you may end up with slightly better barrel, magazine, or grip perks, allowing you to find a Hawkmoon that matches your exact playstyle.
As for its built-in perks, it comes with the following:
- Corkscrew Rifling
- Alloy Magazine
- Smooth Grip
Hawkmoon has the following Exotic Traits:
- Transformative: Future drops of this weapon will have random rolls.
- Paracausal Shot: Final blows and precision hits with Hawkmoon grant stacks of Paracausal Charge. The final round in the magazine deals bonus damage based on the number of stacks. Stowing Hawkmoon on the final round removes this bonus.
Now that you’ve finally got your hands on Hawkmoon, it’s time to see how it handles in Crucible in PVE. For those with the patience and skill, having a final round that deals increased damage could be a great boon in a Crucible match. Remember to stop by the Shacknews Destiny 2 guide for more coverage of the latest season and beyond.


-
Shacknews

 reply
replySam Chandler posted a new article, Hawkmoon Exotic Hand Cannon - Destiny 2
