

All Trivial Mysteries locations - Destiny 2
Discover the Trivial, Enigmatic and Ascendant Mysteries and the Caches of Data in the Shattered Realm in Destiny 2.
Trivial Mysteries, Enigmatic Mysteries, and Ascendant Mysteries are a new type of collectible introduced to Destiny 2 with Season of the Lost. These are hidden away in the Shattered Realm, a new location in the Dreaming City. Finding the Trivial Mysteries is crucial to completing the Seasonal Challenges and earning a good chunk of XP.
Last updated on October 11, 2021.
All Trivial Mysteries locations
There are a whole lot of Trivial Mysteries, Enigmatic Mysteries, and Ascendant Mysteries to find in the Shattered Realm, which is divided into three areas: Forest of Echoes, Debris of Dreams, and The Ruins of Wrath. These mysteries are actually chests, the same design as those in the Dreaming City. Finding these is similar to locating the Ascendant Chests, in that they’re well-hidden and require some special abilities. Opening the chest will reward gear from this season and unlock the associated Triumphs.
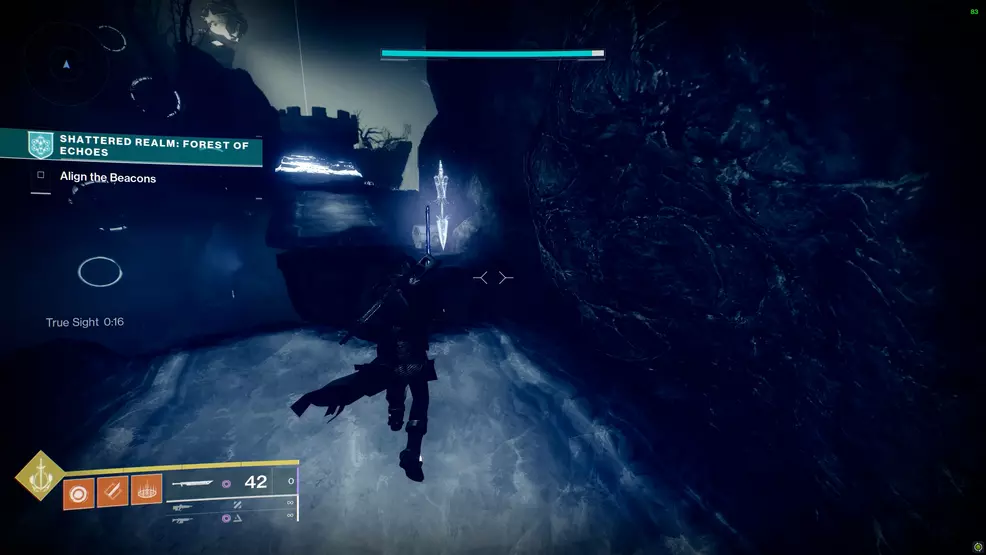
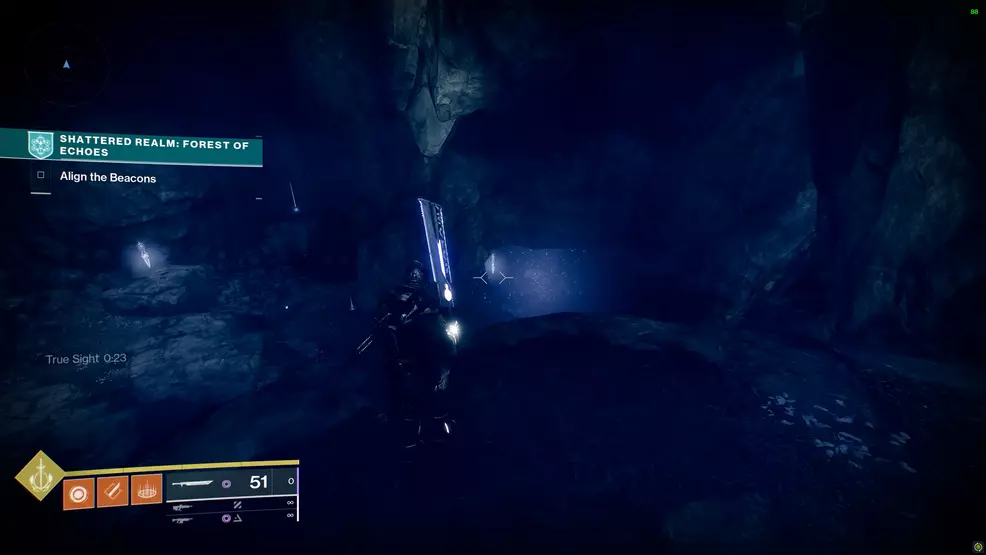
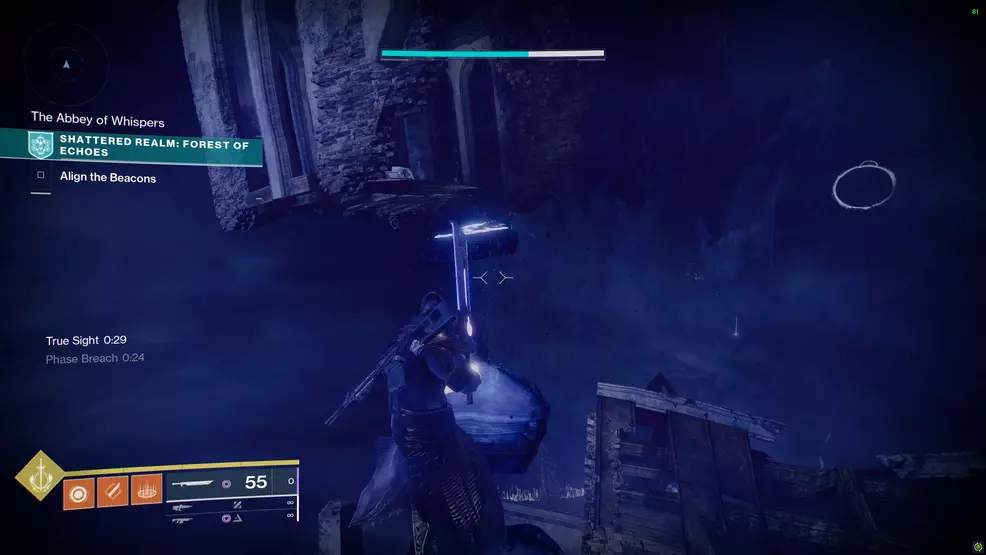
Forest of Echoes Trivial Mysteries
There are 10 Trivial Mysteries to find in the Forest of Echoes, a location in the Shattered Realm. Hunting them down requires specific Wayfinder’s Compass upgrades, so make sure you’re unlocking the critical ones as you progress through the season.
Entombed – Trivial Mystery
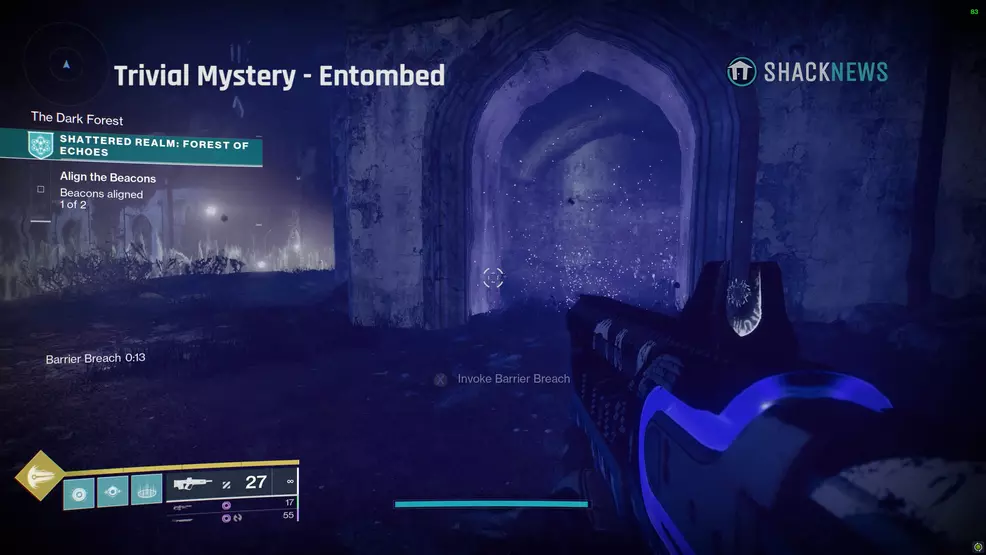
The first Trivial Mystery is found in the Catacombs, across from the chapel. From the chapel, go out the entrance and head to the ledge on your right, where the undercroft building is on the hill. Activate the Barrier Breach ability using the sign. This will remove the barrier from tomb, granting you access to a tunnel. Go down the tunnel, turn left, and then take your first right to spot a chest.
Twofold Ward – Trivial Mystery
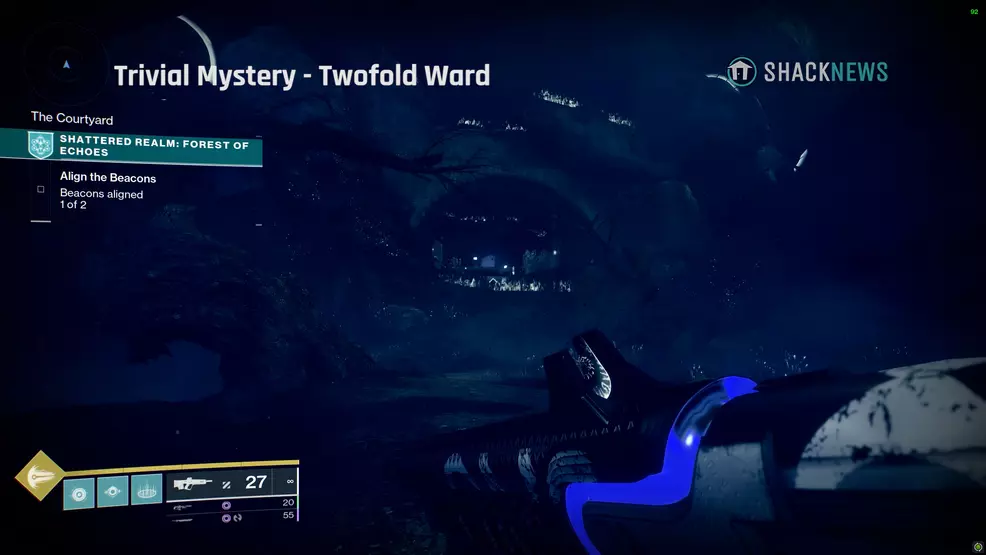
The second Trivial Mystery is in the Outer Ruins. Start at the church, go out the front, and to the left toward the winding ramp. Go up the hill and into the ruins (you can see the barrier from the bottom of the hill). Use the broken pillar at the back-left to climb to the next level. Behind you is the Barrier Breach sign, activate it and go through the barrier at the far side of the structure. Drop down and go out to the floating ledge to grab the chest.
Left Behind – Trivial Mystery
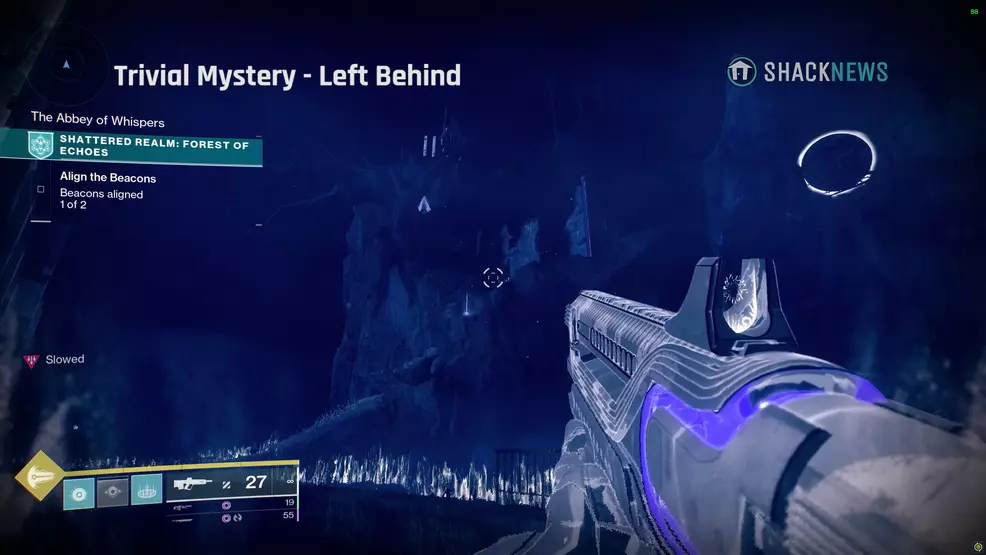
Another Trivial Mystery is in the Outskirts area, also called “Ruins” in the Triumph page. Go back to the chapel and this time head out the back of the church, going to the right. Work your way up the cliff and into the ruins, crossing over into the back corner. You will need to climb up to the top of the building and interact with the Barrier Breach sign. Drop down into the building to grab this Trivial Mystery.
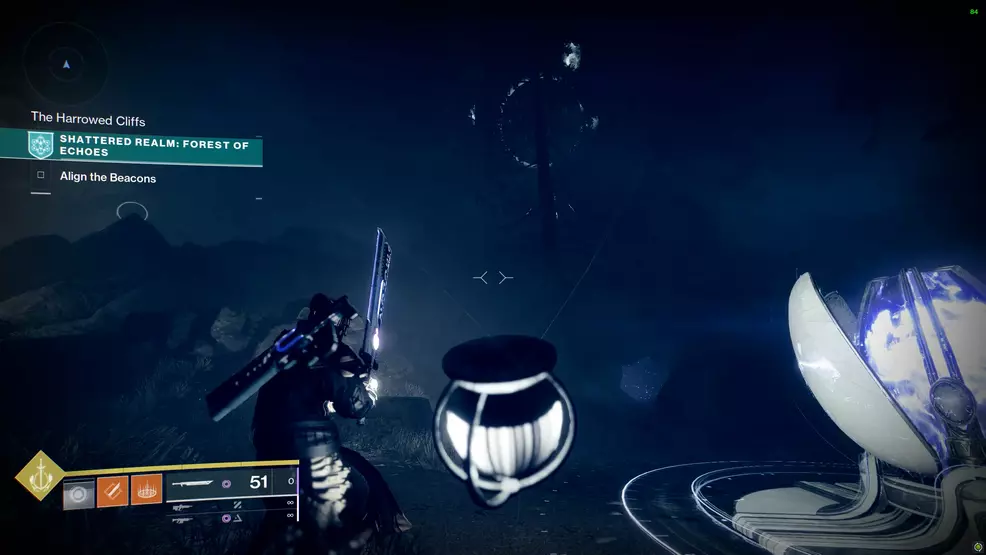
In Shadow – Trivial Mystery
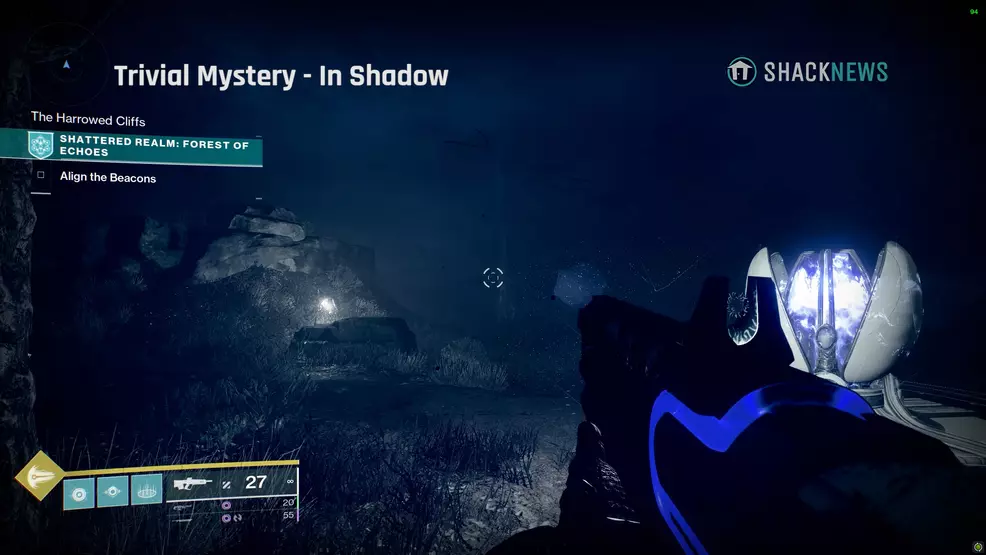
This Trivial Mystery is found from the second beacon up in the Harrowed Cliffs. Behind the beacon is a barrier in the side of a cliff. Climb this cliff and jump down behind it to a small floating island. When you land, turn around to face the cliff. Activate the Barrier Breach sign and jump across the gap. Inside the cave you'll find the chest.
Abandoned – Trivial Mystery
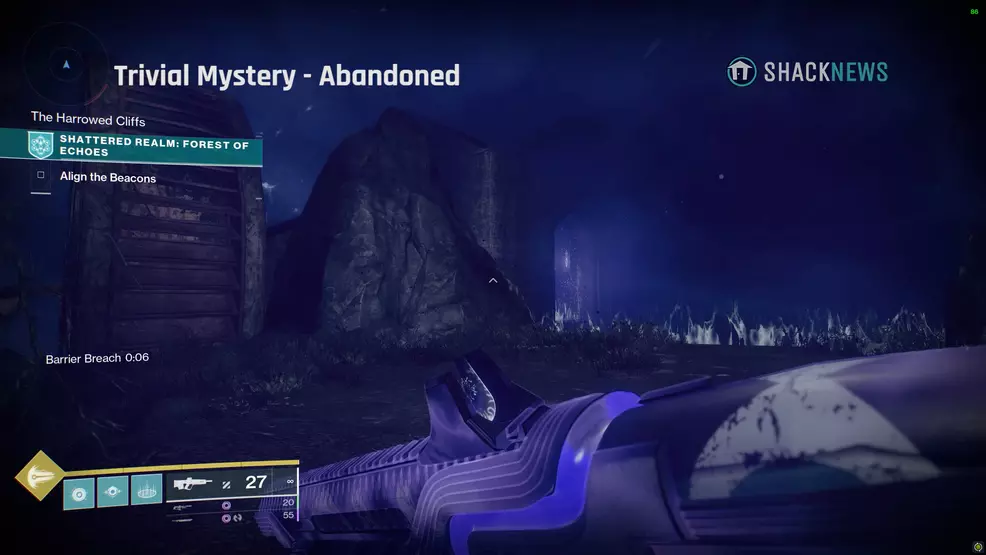
This Trivial Mystery should be acquired immediately after the previous one, as you need the Barrier Breach sign in the cave to reach this one that’s in the Mill. Activate the Barrier Breach sign and use the exit closest to the beacon. Run across the area and to your left, then move through the slow field and directly into the doorway to find the chest. Some enemies will spawn as you enter.
Taken Root – Trivial Mystery

The Taken Root Trivial Mystery is below a tree at the start of the Forest of Echoes. From the start of the area (facing the church), collect the Barrier Breach ability on the left, then turn around and go through the hole below the tree, the chest will be on the left.
Enshrined – Trivial Mystery

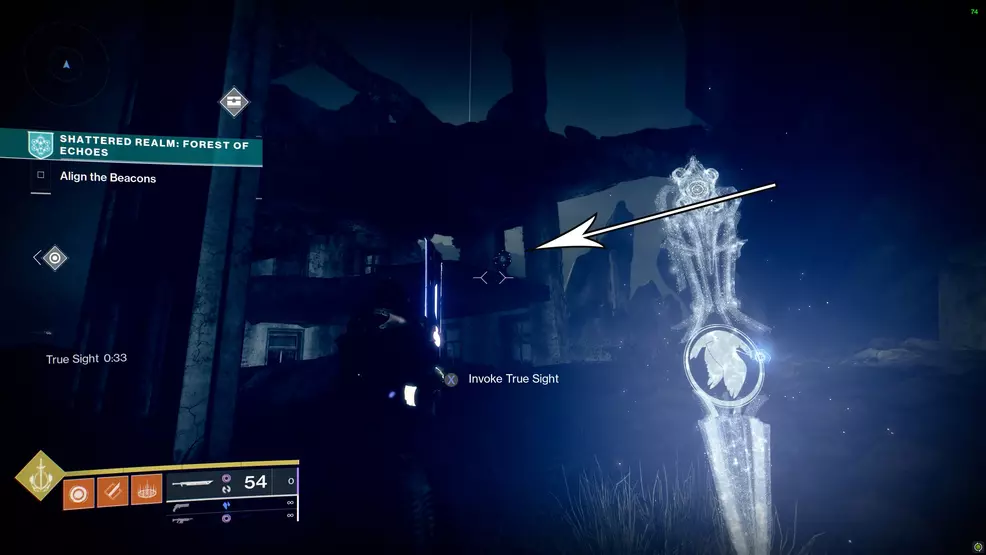
The Enshrined Trivial Mystery is up on the floating island to the left of the entrance. The island has a large statue on it and a bunch of enemies. Use the True Sight sign near the edge and climb across the platforms.
Laid to Rest – Trivial Mystery
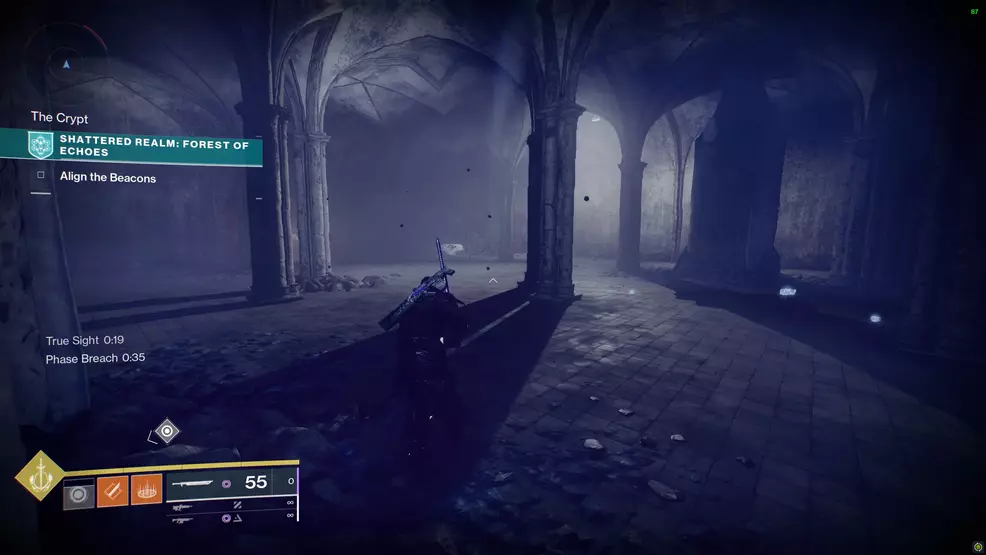
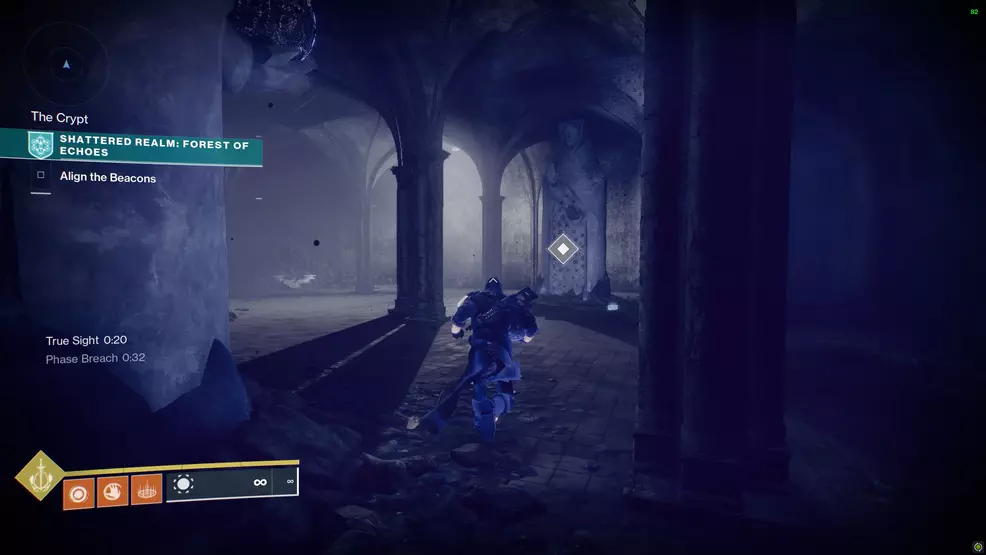
This Trivial Mystery is found in The Crypt, below the church. You can access this by the mausoleum up on the hill by the chapel, just up from the slow field. Use the Barrier Breach to get into crypt, drop into the crack, and take the left-hand hall to the very end. Grab the True Sight and Barrier Breach and go outside and work around the cliff on the platforms. Go inside the cave to spot a statue and on the other side, the chest.
Airwalk – Trivial Mystery
This Trivial Mystery is found via the Outskirts, which is up the hill beside the church (the right-side of the chapel when facing the church’s front door). Cut across the slow field to the opposite side to find a True Sight sign. Use the sign and jump across the platforms until you go behind a distant rock where you’ll find the chest.
Deep Defenses – Trivial Mystery
The Deep Defenses Trivial Mystery is below the Ruins, the area to the right of the entrance point, the path you would take to the second beacon. Instead of going into the middle of the area, stick to the right-hand side to find a True Sight sign. Use the ability and drop down to the circular platform, and go down to a little hole in the side of the rock. Inside will be the chest on your right, but you’ll need to use the Barrier Breach sign on your left to get it.
The Bells – Enigmatic Mystery
This Enigmatic Mystery is above the church, in the bell tower. To reach this area, you can go inside the church and get the True Sight and Barrier Breach signs from the front. Run to the back of the church and jump up and into the top. Jump up the platforms until you reach the bell tower and your chest.
As Above, So Unseen – Enigmatic Mystery
This Enigmatic Mystery is above front of the church. There is a True Sight sign outside of the slue field by the edge and a Safe Passage sign below the first platform. Jump up the platforms and grab your chest.
The Dark Ritual – Ascendant Mystery

This Ascendant Mystery begins at the chest for the Enshrined Trivial Mystery. Start at the entrance of the Forest of Echoes and drop down into the forest overlooking the church. Go the edge and grab the True Sight and jump across the platforms to the statue in the distance. Defeat all the enemies to spawn the orb.
Now you must carry it into the Crypt below the church. This area is accessed by the mausoleum on the ledge in front of the church. Use the Barrier Breach ability to access the undercroft, take the left path and go to the end where a True Sight and Barrier Breach sign are. Grab both of these, go out the hole in the wall, and follow the platforms down. Jump into the underground area and deposit the orb into the statue that doesn’t have one. Defeat the Apocalyptic Blade and the other enemies and grab your reward from the chest.
Born of Darkness – Ascendant Mystery
The Born of Darkness Ascendant Mystery requires you to clear all of the blights. This is started at the second beacon. Clear the one up high followed by the two around the second beacon. Go down the path you use to get up (the one with the slow field) to spot another blight on the rock that leads to the boss portal.
Follow the path to the Ruins where you’ll find three more blights and a ton of enemies. Clear the area and then follow the Toland orb down the well. Defeat the Devoured Ogre and open the chest by the central rock to claim this mystery.
In Memory – Cache of Data

The In Memory Cache of Data is to the left of the starting area, out on the floating island where you start the Dark Ritual Ascendant Mystery. Use the True Sight to jump across the platforms. The sphere is behind the statue.
Bearings – Cache of Data

The Bearings Cache of Data is on top of the tower that is found to the side of the church and up the hill. Go up the hill from church and use the True Sight ability to see platforms leading off and behind a rock in the distance. Follow the path along until you come to a tower that looks like it belongs to an old castle. The sphere is on top.
The Intruder – Cache of Data
The Intruder Cache of Data is to the right of the starting location, in the ruins. From the start, go right and across the rocks to the ruins. Follow the edge of the ruins along to the corner where the True Sight sign is. Activate it and look in the nearby building to spot the sphere.
Vantage – Enigmatic Mystery
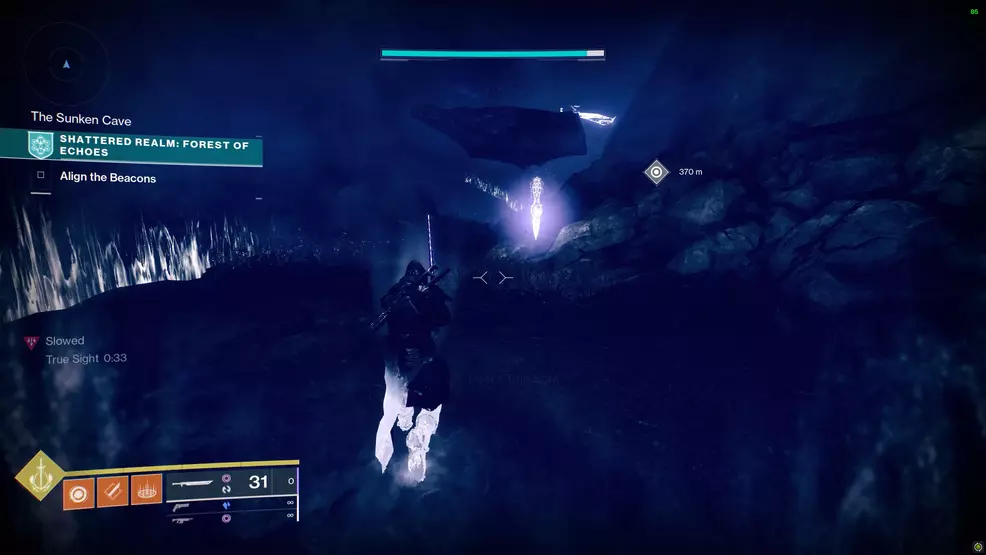
The Vantage Enigmatic Mystery is above the Sunken Cave, at the top of a tower to the right of the starting location. You must use the True Sight and Safe Passage signs to reach the top. Depending on how fast you can be, you may need to return here once you’ve unlocked the upgrade that extends the effect of Safe Passage.
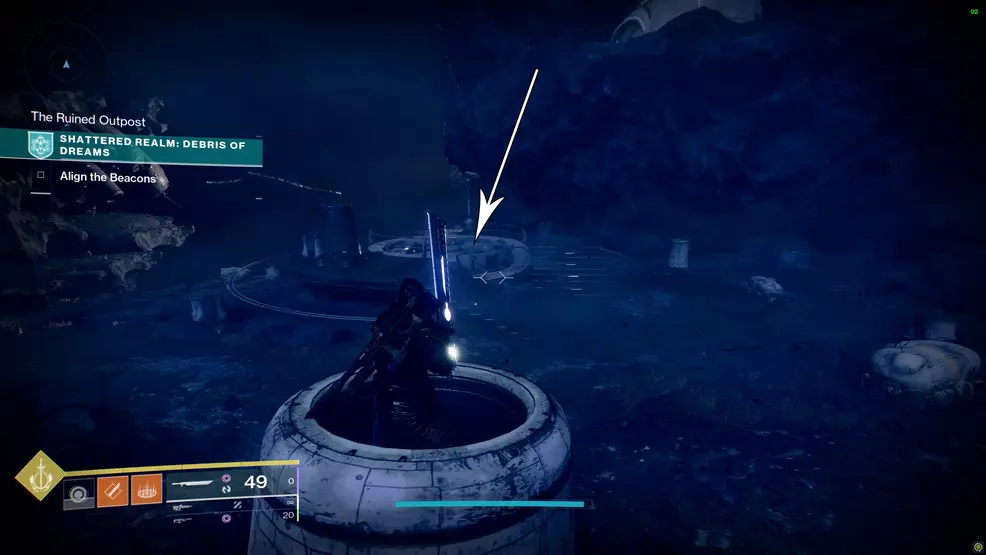
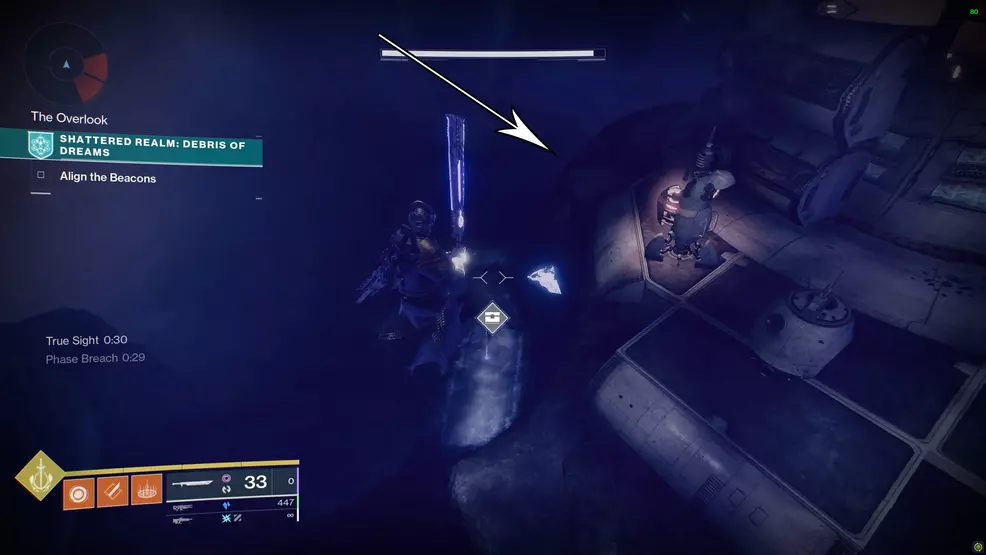
Debris of Dreams Trivial, Enigmatic, & Ascendant Mysteries and Caches of Data
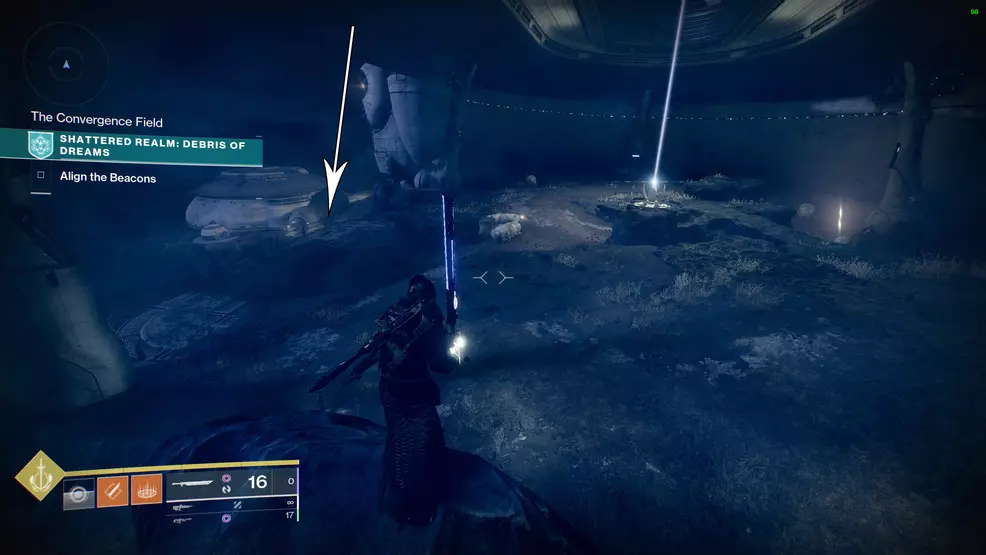
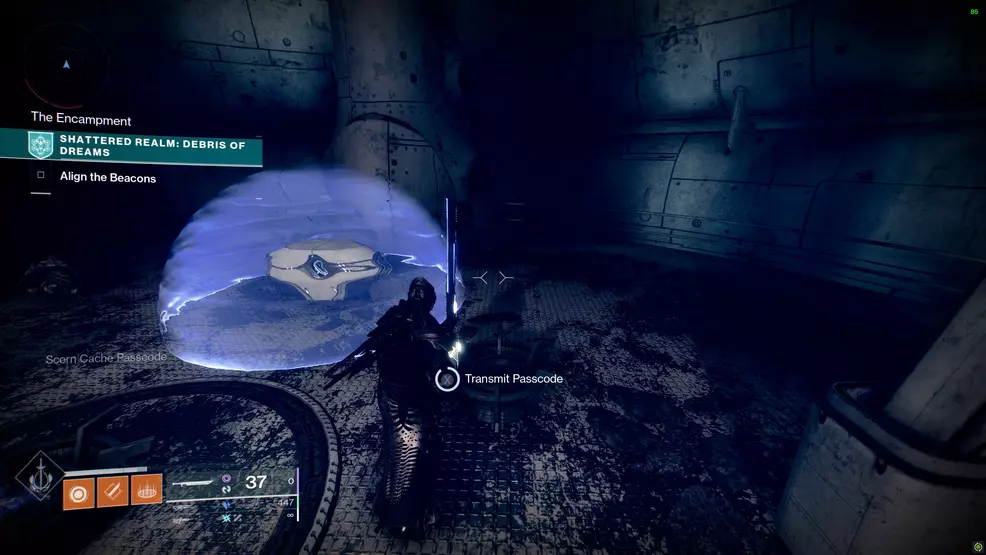
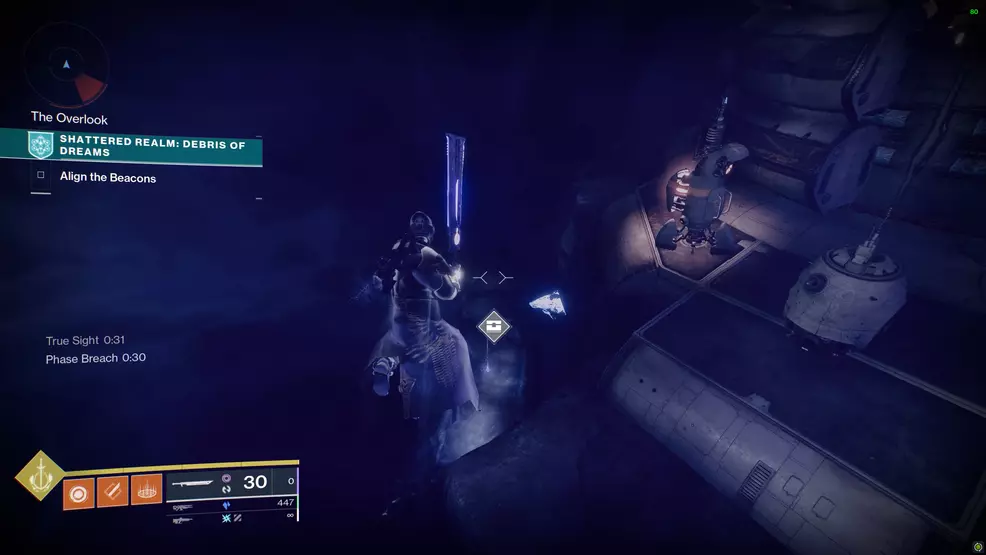
The easiest way to collect the Trivial Mysteries and Enigmatic Mysteries from the Debris of Dreams is to first align the two beacons. Once they are aligned, all of the Techeun abilities can be used and you’re free to explore each area fully.
Supply Stash – Trivial Mystery
The first Trivial Mystery is to the left of the main area, near the first beacon in the Shattered Enclave. Work your way over to where the beacon is, but instead of going inside, work around the perimeter to find a small spherical structure by itself. Use the nearby Barrier Breach sign to gain access to the chest.
The Perilous Path – Trivial Mystery
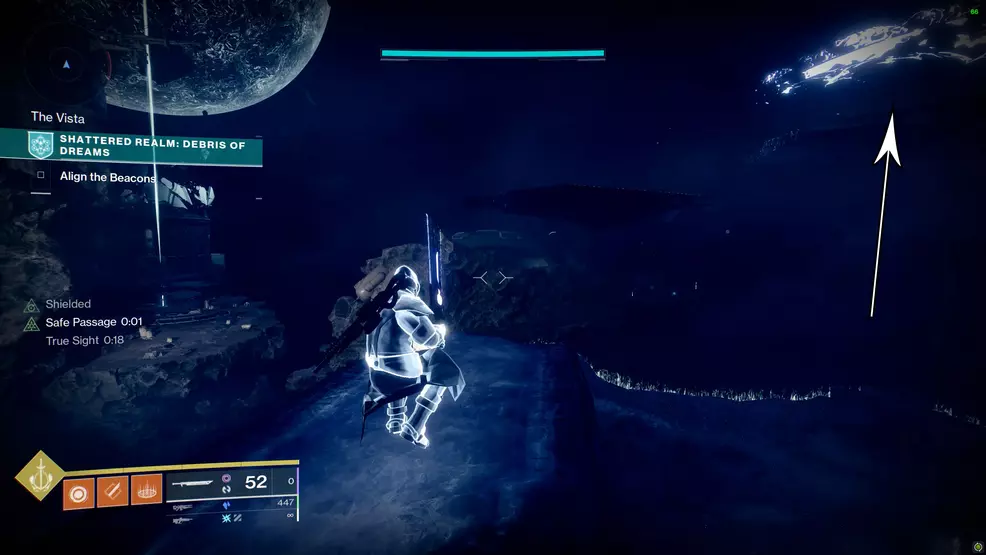
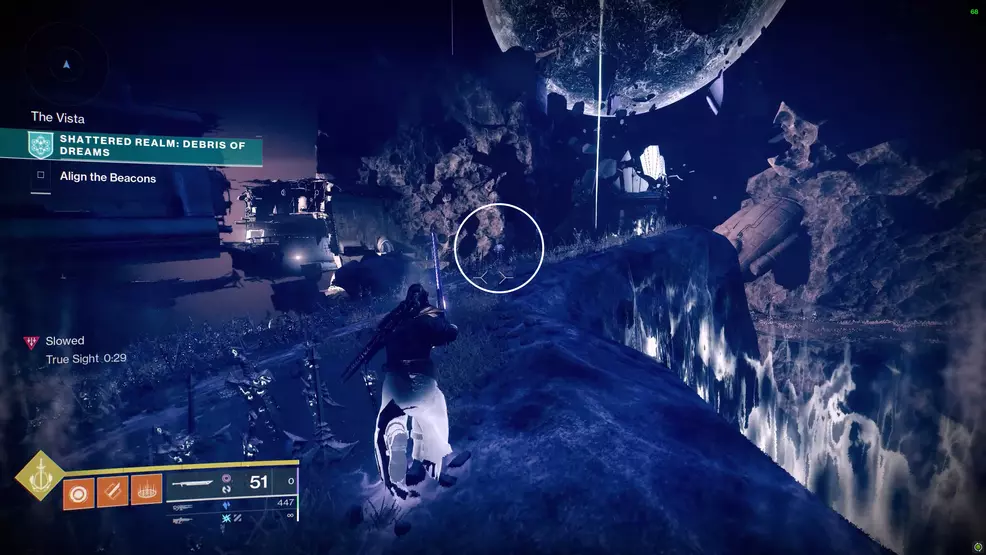
This next Trivial Mystery is to the left of the central area, in the direction of the first beacon – it’s out on a floating island in an area called The Vista. Jump across the gap and work your way up the hill, but at the top, instead of going left toward the first beacon location, use the True Sight ability and jump over to the floating island on the right. When you reach the island, find another True Sight sign and use the small platforms to reach the circular platform.
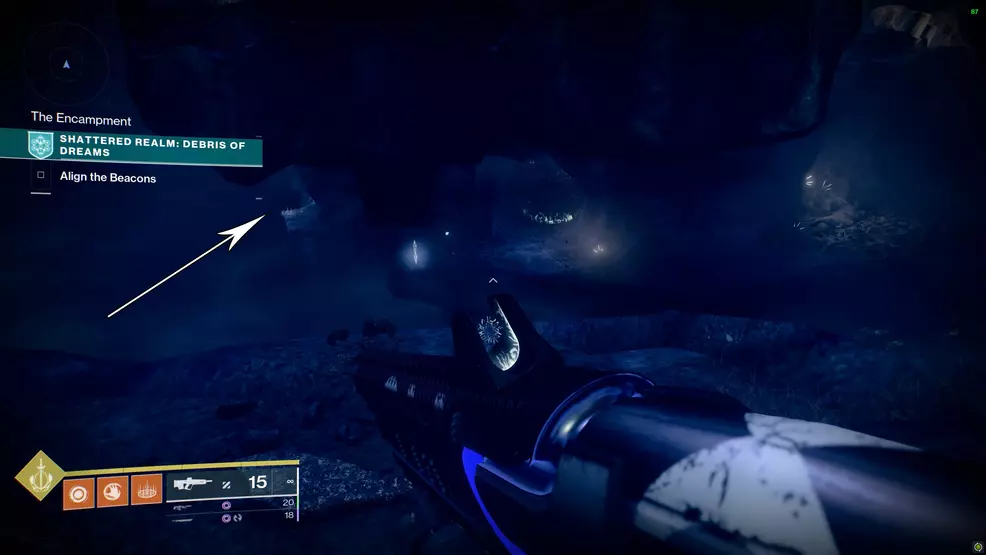
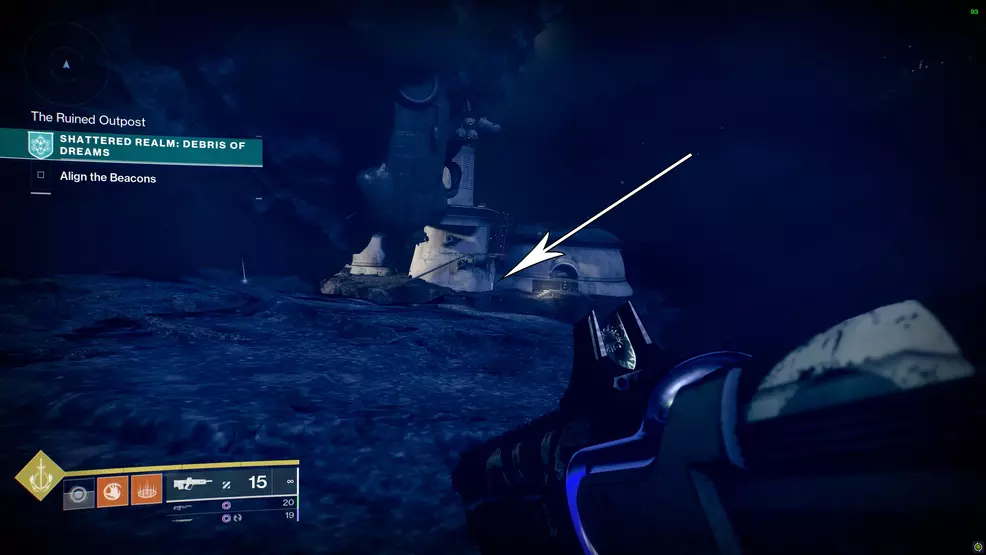
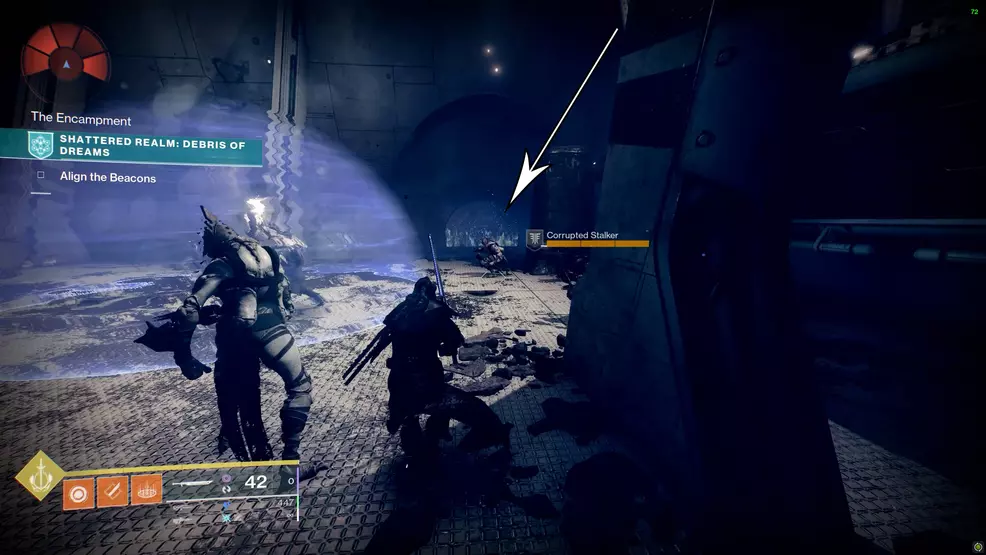
The Hidden Path – Trivial Mystery
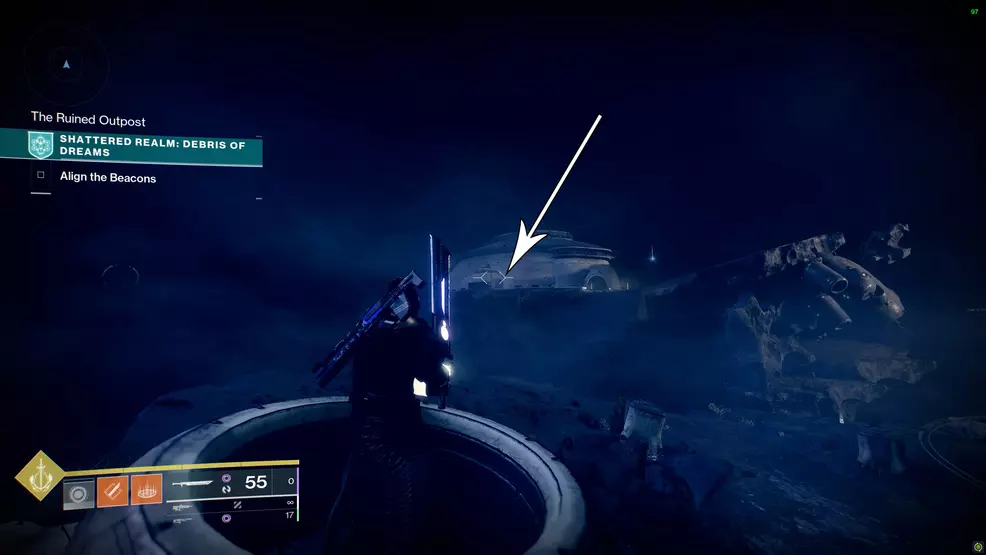
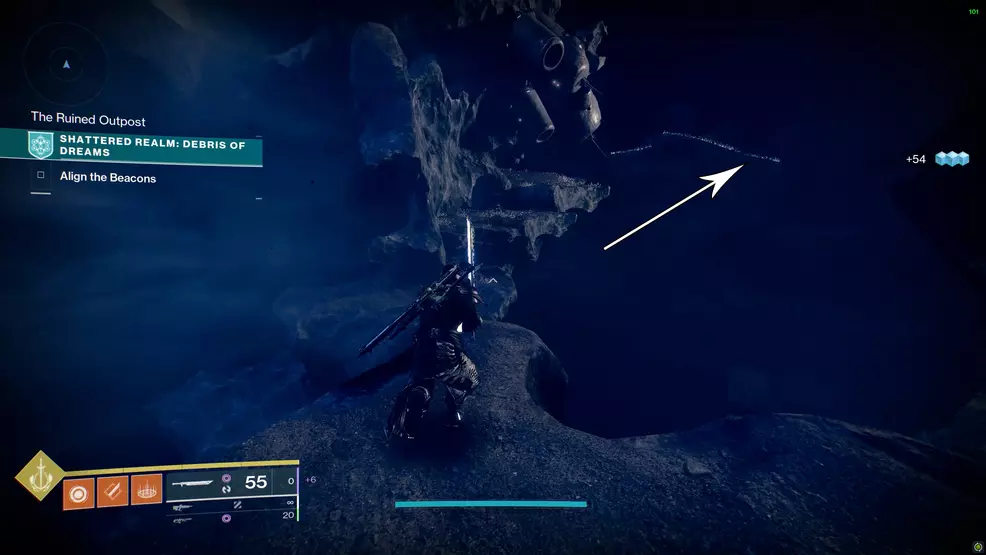
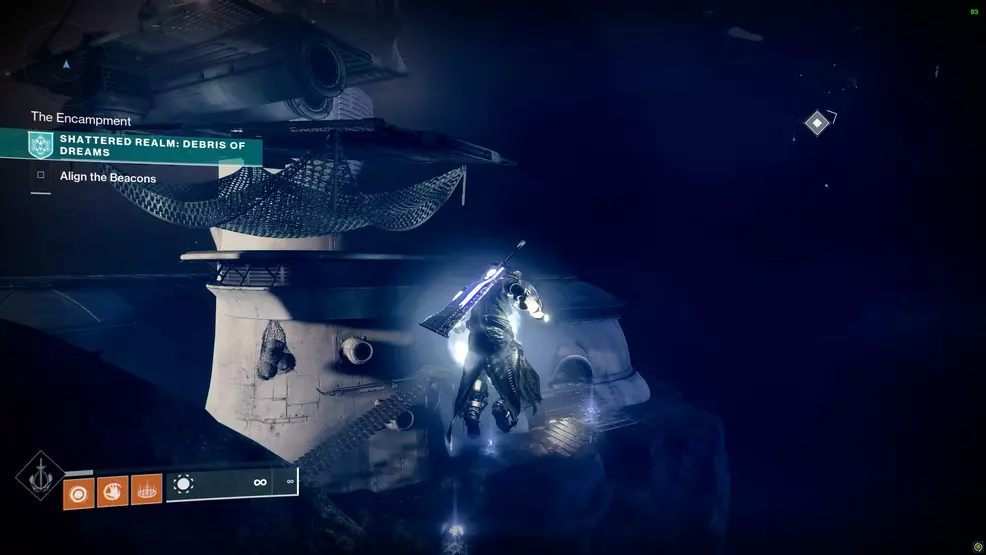
This Trivial Mystery is through a small cave that’s attached to the main area (Ruined Outpost). Start near the spinning fan in the ground and look for a cave in the wall. Go through the cave (the Encampment) and stick left to exit out onto a little ledge with a True Sight sign. Activate the sign and jump across the platforms to reach the chest.
The Underhang – Trivial Mystery
A Trivial Mystery can be found below the Ruined Outpost main area. To reach this, go to the right and jump across the gap to where an Ascendant Anchor can be found. When you land, turn around to spot a cave system below where you jumped from – you’ll also see a True Sight sign. Jump across and activate the sign and then just jump down the platforms until you reach the chest.
Refined Mystery – Trivial Mystery
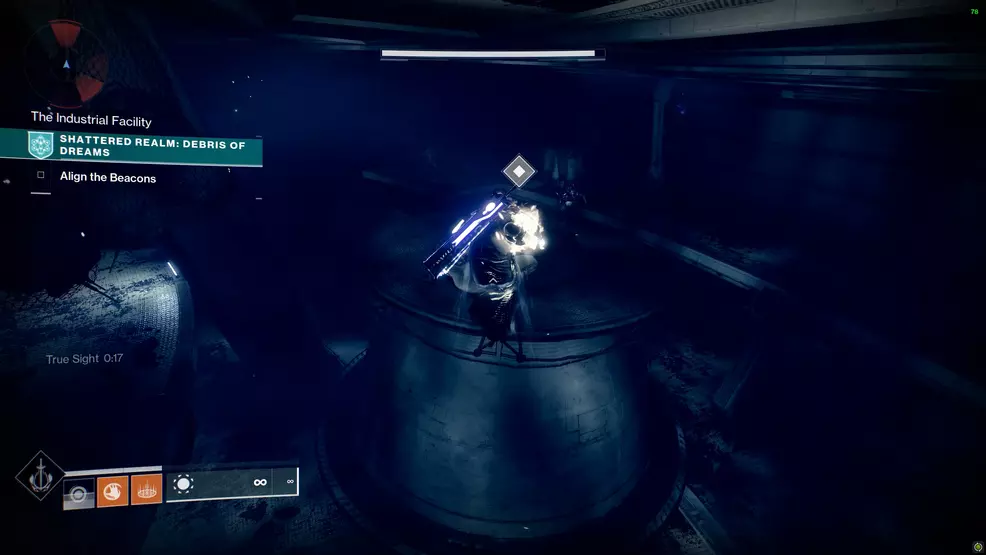
This next Trivial Mystery is to the right of the central plateau, over in the Industrial Facility. Work your way from the main area down and to the right. You will need to jump over some materials on a crane to reach the building. There is a Barrier Breach sign near a barrier, activate it and walk through to find the chest.
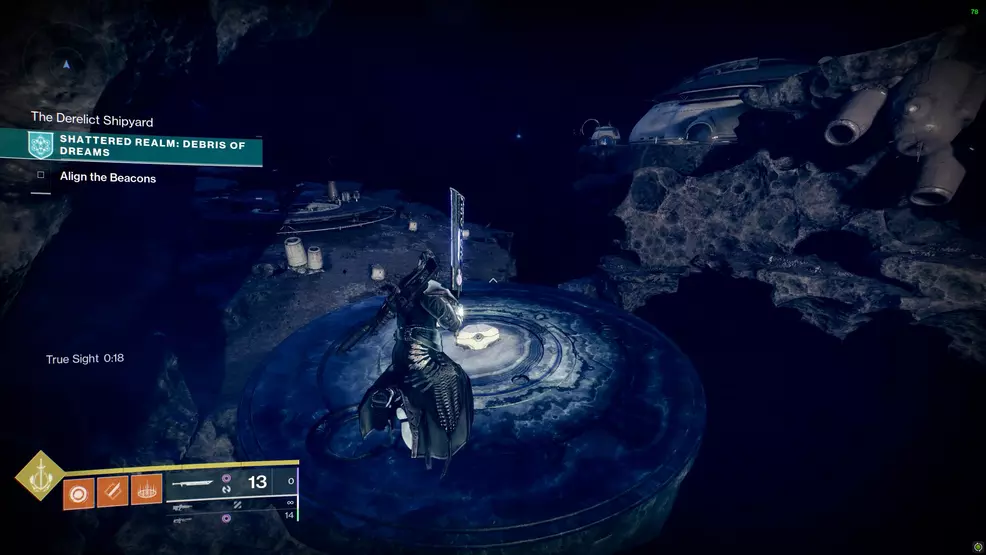
Concealed Cache – Trivial Mystery
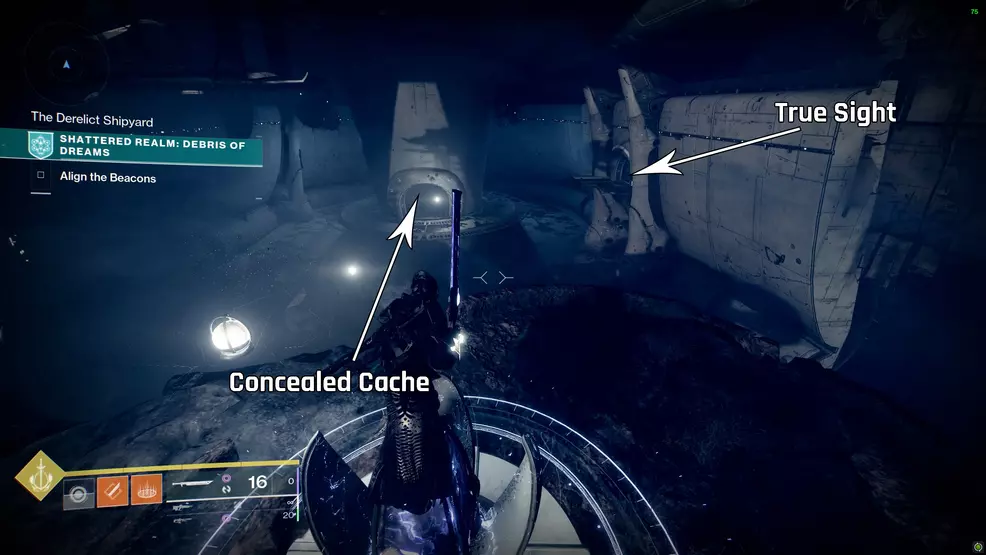
This Trivial Mystery is up the steep shaft near the second beacon. To get it you will need to use True Sight sign that is through a door on the right. Grab the True Sight from the ledge, run back into the shipyard and climb the steep shaft. At the top, turn right and run down the corridor to spot a chest near a floor with a barrier.
Secret Stash – Trivial Mystery
Another Trivial Mystery is found up the steep shaft by the second beacon. Go from the beacon, up the shaft, turn right and go down the corridor. At the end will be a Barrier Breach sign, use it and go through the barrier to grab the chest.
Shipyard Secrets – Enigmatic Mystery
This is one of the first Enigmatic Mysteries you could acquire. This one is found below the final boss arena and can be accessed by jumping over the railing. To reach it, start at the second beacon and climb the steep shaft. Turn left at the top of the shaft and use the Fallen teleporter on the ledge. On the other side, run across to the railing and look down to see an Ascendant Anchor. Jump down to the ledge, use the True Sight, and grab the chest.
Outpost Lost – Enigmatic Mystery
Another Enigmatic Mystery can be found directly below the main area, the Ruined Outpost. Drop through the spinning fan and look for the True Sight sign in the slow field, it’s on a ledge. Jump up to it and use the ability to see some platforms. Jump across them carefully to reach the highest point where you’ll find your chest.
The Hidden Refuge – Trivial Mystery
The Hidden Refuge is located in the building on the island to the right of the main area. To reach this, start in the center and go to the right to the industrial building. Go through the barrier and use the teleporter. When on the island, use the True Sight sign and work your way down to the chest.
The Envisioned Ascent – Trivial Mystery
The Envisioned Ascent Trivial Mystery is on a floating platform between the island to the right of the main area and the industrial facility. To reach the chest, go to the industrial facility to the right of the starting point and use the teleporter that’s behind the barrier. Once on the island, use the True Sight sign and follow the paths down toward the industrial facility. The chest is on the circular platform.
Sealed Stash – Trivial Mystery
The Sealed Stash Trivial Mystery is near the second beacon, up the shaft and through the locked door. Once inside, deal with the Scorn and use the Barrier Breach to go through the door to find the chest behind some tripmines.
Enclave Enigma – Enigmatic Mystery
The Enclave Enigma is above the floating island to the right of the first beacon. Go up the hill toward the first beacon, use the True Sight ability to go over to the island, and then use the Safe Passage ability to climb platforms up to the very top to find the chest.
Refined Power – Ascendant Mystery
The Refined Power Ascendant Mystery requires you to carry an orb to a few different locations. To get the orb, clear the Scorn near the drill at the central area. Pick up the orb and follow the waypoints. Go to the right of the main area to the industrial facility. Go through the barrier, walk through the teleporter, deposit the orb in the machine and jump on the platform.
When the platform is fully down, collect the orb and use the True Sight sign to reveal platforms leading to the industrial facility. Go inside, deposit the orb, and activate the terminal. The chest will spawn beside you.
The First Rule – Ascendant Mystery
Near the second beacon, and up the shaft, will be a locked door you can now open. Inside is a Scorn boss and some enemies you must defeat. There will be a chest behind a shield that requires three codes to unlock. The first code you’ll get from the Scorn in the same room.
The second code is held by a Scorn that is found over the railing from the final beacon in the boss arean. Jump over the railing and land on the ledge below, which winds around to a small building with the Scorn foe. The final Scorn is below the main area, which can be accessed by jumping down the spinning turbine.
When all three are dead, return to the shielded chest and interact with the things on the ground to lower the shield.
The Conjuring – Cache of Data

The Conjuring Cache of Data is below the boss arena. Go through the teleporter that’s up the shaft and down the left from the second beacon and jump over the railing to a lower ledge. Follow the ledge along to find the spherical cache.
Corsair’s Tale – Cache of Data
The Corsair’s Tale cache is over on the island to the right of the central area. It’s found near the Hidden Refuge Trivial Mystery. From the main area, go to the right to the industrial area and use the teleporter behind the barrier. Once on the island, use the True Sight sign and jump down the platforms. The spherical cache will be near the chest.
Harbingers – Cache of Data
The Harbinger’s cache is up the hill to the first beacon and out to the right on the floating island. Use the True Sight ability to reach it. The cache looks like a ball.
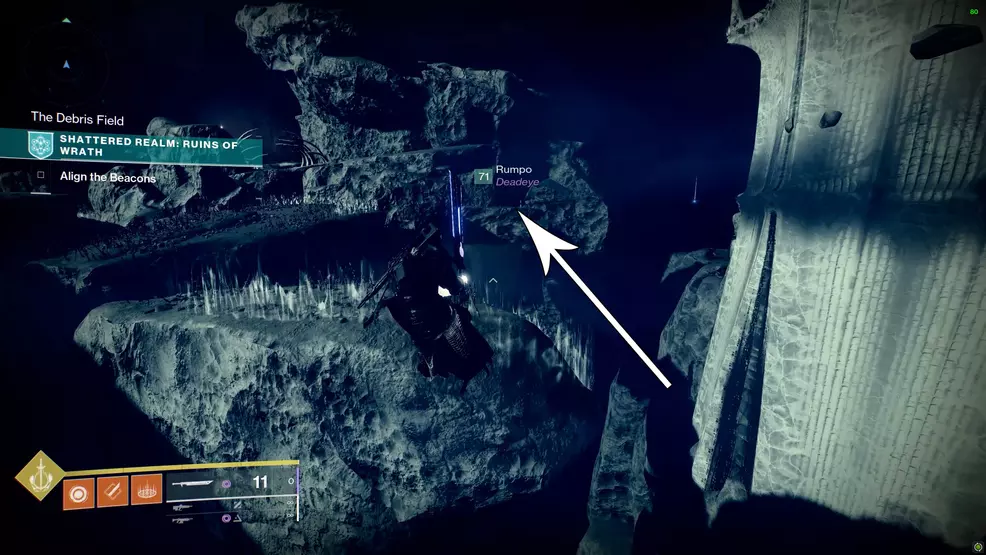
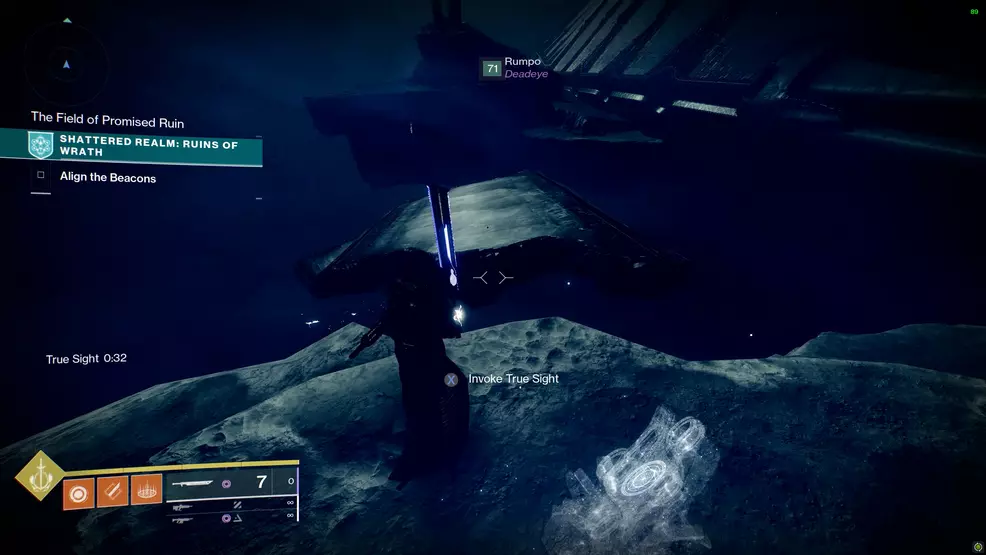
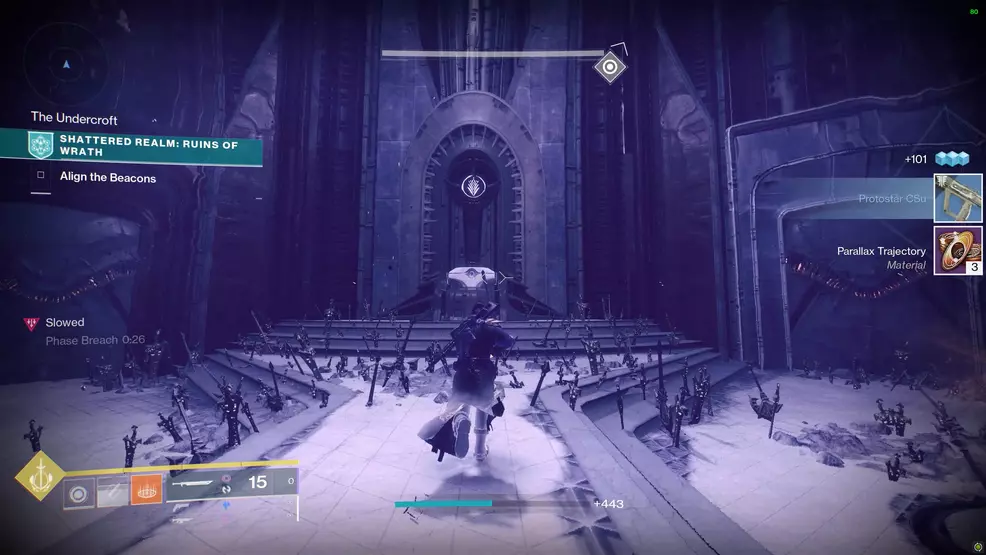
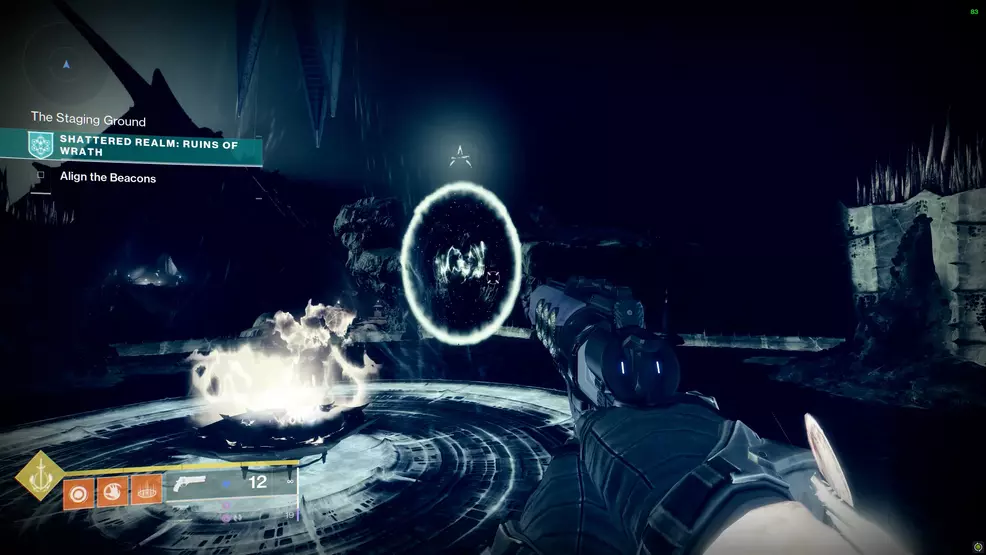
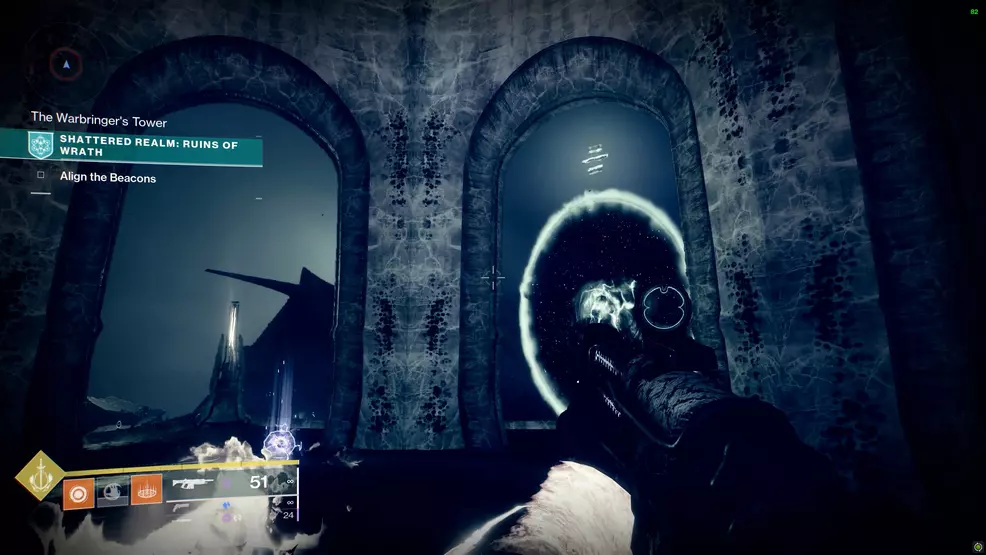
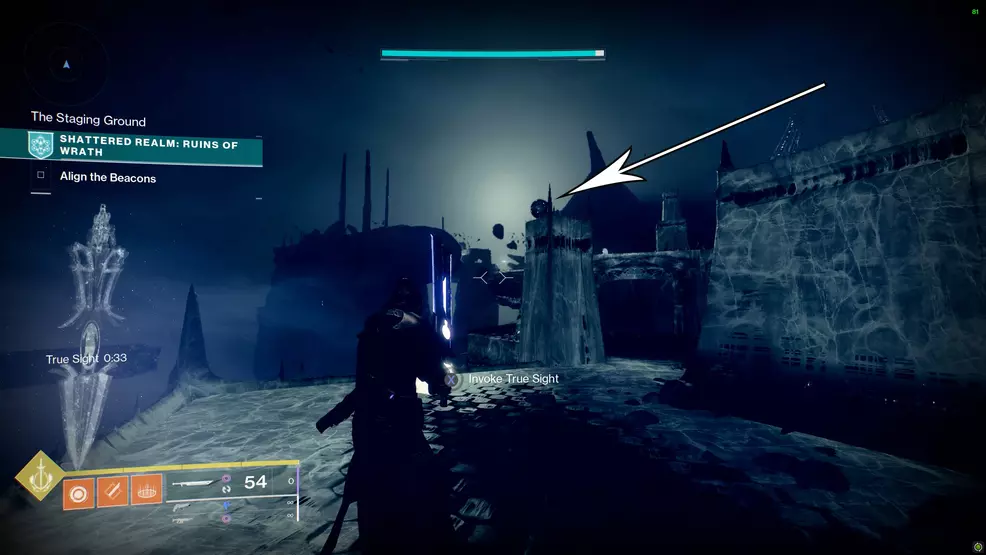
The Ruins of Wrath Trivial, Enigmatic, & Ascendant Mysteries and Caches of Data
The Trivial Mysteries and Enigmatic Mysteries in the Ruins of Wrath side of the Shattered Realm are easier to acquire if you have the Barrier Breach, True Sight, and Safe Passage upgrades unlock on your Wayfinder’s Compass. It’s also a great idea to clear both beacons first so that all the signs are active.
In Light’s Reach – Trivial Mystery
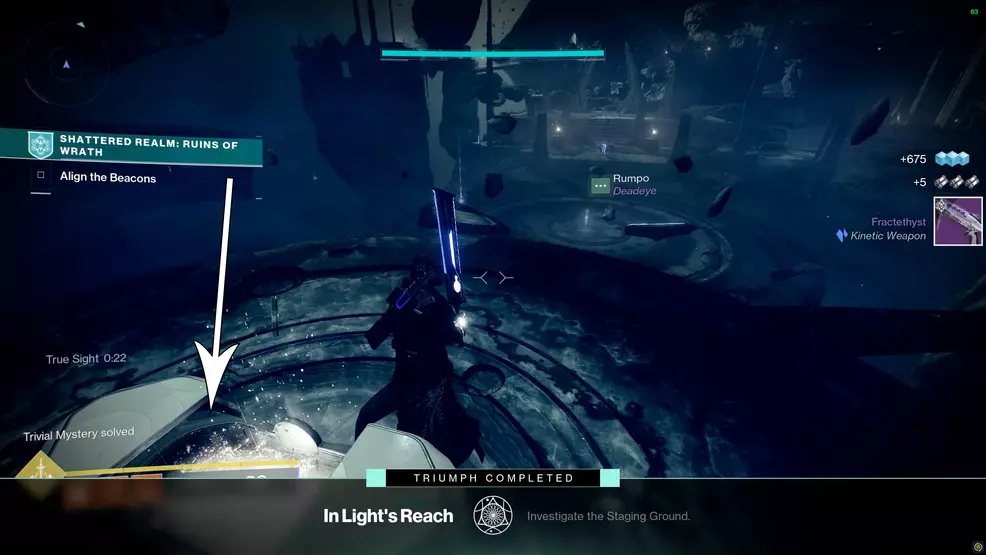
This Trivial Mystery is found from the first beacon. Turn around (towards the entrance of the realm) and use the True Sight post to make some platforms and the chest appear.
Below – Trivial Mystery
This Trivial Mystery is below the main area, in a small cave (The Causeway). Drop below to find a path that winds down to a cavern. Activate the Barrier Breach and run through the cave at the back to spot the chest.
Turret Treasure – Trivial Mystery
Another Trivial Mystery is to the right of the first beacon, beside the portal on a short tower. Go over to the right-hand side and use the True Sight sign that’s at the base of the tall tower to reveal some platforms that wrap around the shorter tower. Climb them to the top to reach the chest.
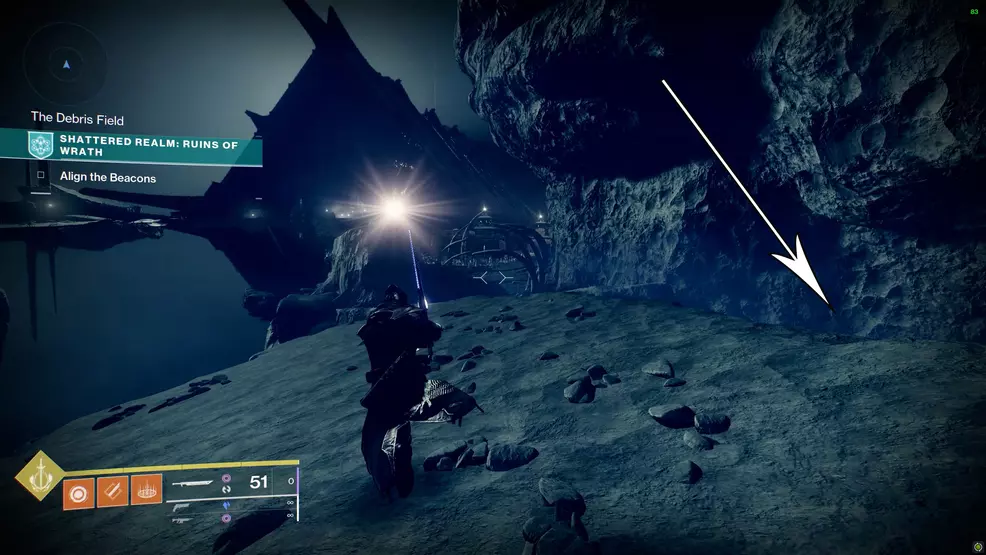
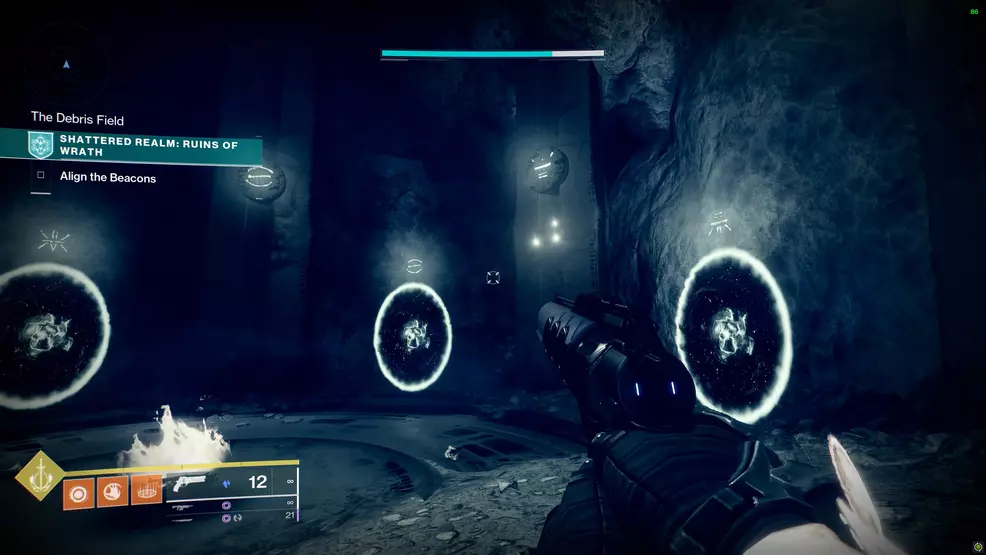
Impactor Cache – Trivial Mystery
This chest is found in the Debris Field that is covered in the slow effect – it’s on a small island off to the side. You will need to go to the center of the slow field to activate the Safe Passage and then run and jump out to the rock with the chest on it.
Pallasite Cache – Trivial Mystery

Another Trivial Mystery can be found in the Debris Field in the middle of the map. Go into the center of the field, remove the slowing effect using the Safe Passage sign and then grab the True Sight sign. Go to the edge closest to the Hive Dreadnaught to make some platforms appear. Jump across them to the chest and open it.
Chrondite Cache – Trivial Mystery
This Trivial Mystery is through the Debris Field and to the right. From the first beacon, jump toward the Hive Dreadnaught and stick to the right-hand side. Work your way up and onto the rocky platform that has the ribcage. Follow it along to the small Hive platform with a Safe Passage sign beside it. Use this sign to jump up to the chest.
Kamacite Coffer – Trivial Mystery
This Trivial Mystery is to the right of the first beacon, past the Hive portal and to the right of the Debris Field. Jump across the floating rocks, sticking to the right-hand side, and jump up to the higher level. There will be the ribcage head of you, don’t go towards it. Turn right and drop down to the ledge, grab the Barrier Breach and walk up the tunnel to find a tiny cave.
Howardite Cache – Trivial Mystery
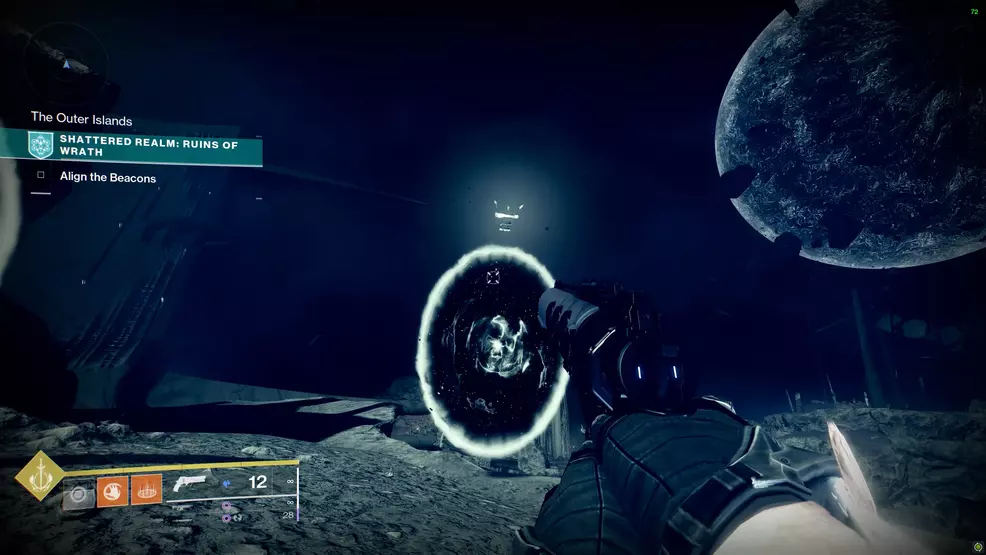
To find this Trivial Mystery, start at the second beacon and go to the left. Activate the True Sight beacon and jump across the platforms to the floating island (The Outer Islands). Go around to the right, grab the Barrier Breach, and jump up to the next level and go through the barrier to find the chest.
Aloft, Adrift – Enigmatic Mystery

This Enigmatic Mystery is to the left of the first beacon. Go to the edge and activate the True Sight sign to see some platforms leading off into the distance. Go along them until you reach a rocky island (The Outer Islands). Work your way down below this island, grabbing the Barrier Breach from near the edge as you go. Go into the cave at the end of the path to spot the chest.
The Deep – Trivial Mystery
The Deep Trivial Mystery is inside the building to the right of the first beacon. Use the sync plate to open the door, go inside and drop to the next level. Use the Barrier Breach and drop down the chute with the spinning beams. In the new room, grab the True Sight sign to reveal platforms that lead to the chest at the back of the room.
Spire’s Reach – Trivial Mystery
The Spire’s Reach Trivial Mystery is up the tower to the right of the first beacon. To reach it, you must work through the Light the Way Ascendant Mystery. The chest is below the boss arena, use the True Sight sign to see platforms or jump down and through a window.
Harrowed Hall – Enigmatic Mystery
The Harrowed Hall Enigmatic Mystery is to the right of the first beacon, inside the Hive building. Stand on the plate to open the door, head inside, drop down to the next level and then use the Barrier Breach and drop down the chute. Stick to the right-hand side and use the Barrier Breach to go through the door. Follow the hallway to the end to find the chest in the corner.
Eclipsed Cache – Enigmatic Mystery

The Eclipsed Cache Enigmatic Mystery is to the right of the debris field where the slow field is. You must use the Barrier Breach inside the cavern and the True Sight to pass through the barrier and jump up some platforms. The platforms will lead you to the roof where the chest is. Alternatively, use True Sight and climb the cliff where the ribcage is outside the cavern.
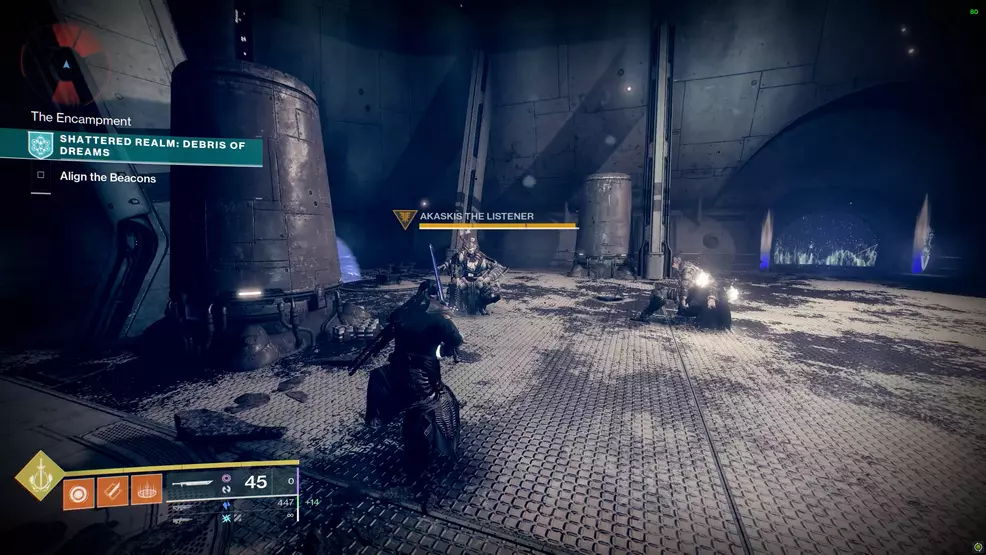
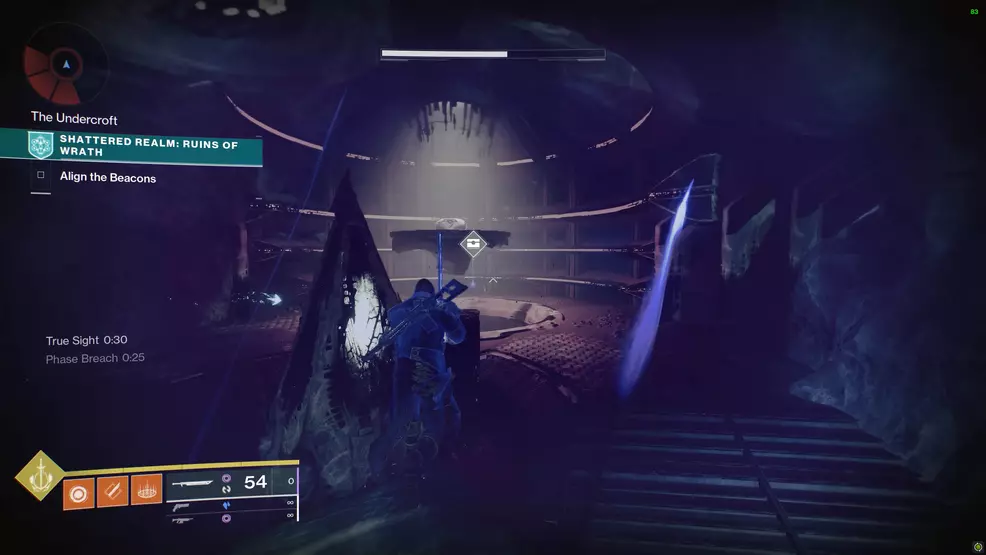
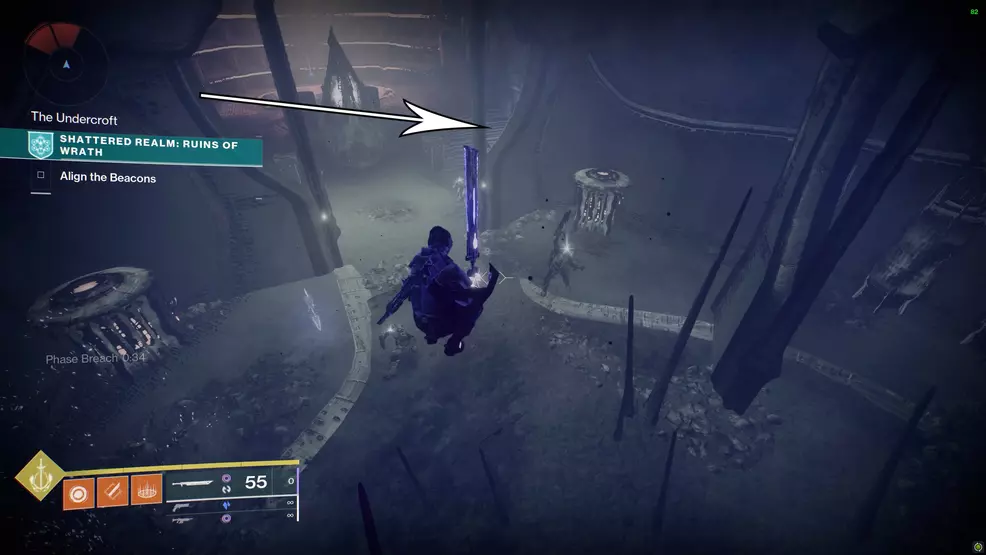
Lord of the Undercroft – Ascendant Mystery
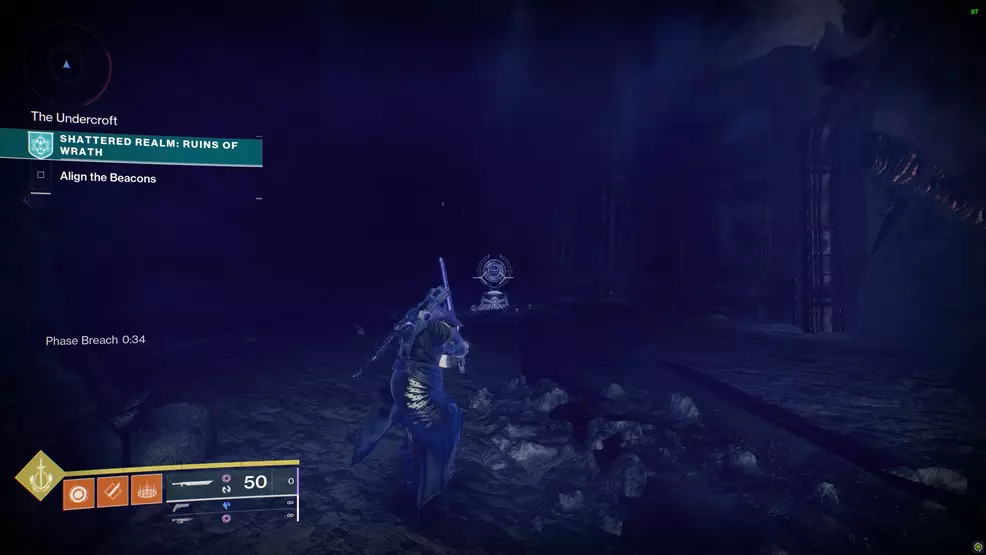
The Lord of the Undercroft Ascendant Mystery starts to the right of the first beacon. Stand on the plate in front of the Hive building and then head inside once the door opens.
Drop down, grab the Barrier Breach, go through the barrier and drop down the dangerous chute. Now you will need to find orbs hidden in these tunnels and use them to lower the shields of Scoroboth, Son of Xivu Arath.

If Scoroboth disappears before you can deal damage, the most recent orb should respawn (look for the waypoint). Look for the Toland orbs to help navigate this area. It’s only a small cavern, so you shouldn’t get lost for too long.
The final room will have a Safe Passage and Barrier Breach sign in it. Use the signs, drop down below the stairs to find the final charge, grab it and then throw it at him. Defeat Scoroboth and claim your prize from the chest.
Light the Way – Ascendant Mystery
The Light the Way Ascendant Mystery requires you to defeat Soulfire Exarchs and solve a portal puzzle. The way to solve the puzzle is to only go through the portals that have a sign in the main room. The correct order will be: second portal on the right, middle portal, right portal, right portal.
To begin, defeat the Soulfire Exarch that is to the right of the slow field. Grab the flame orb it drops and go inside the caverns. Dunk the orb to reveal five portals, each with a symbol above them. Look above the portals further to see symbols on the walls – only go through portals that are marked with one of those symbols.
Each time you go through a portal you will need to either defeat a Soulfire Exarch or take a flame orb to the Annihilator Totem. When you open the final portal, follow the path, use the Safe Passage and True Sight, and go out to the island where the Soulfire Hierarch is waiting. Defeat the Wizard and open the chest.
The Loop – Cache of Data
The Loop Cache of Data is to the left of the first beacon. Grab the True Sight to spot the sphere on top of the pillar.
Wrathful Maneuvers – Cache of Data

The Wrathful Maneuvers Cache of Data is past the second beacon, over on the floating rock island. Use the True Sight to find it across the platforms on the island.
Hive Movements – Cache of Data

The Hive Movements Cache of Data is inside the building to the right of the first beacon. Open the door using the plate, drop down into the next area, and go through the barrier. Drop down the dangerous chute into the lower area. Grab the True Sight sign and look for the sphere right beside it.
Finding all of the Trivial Mysteries, Enigmatic Mysteries, and Ascendant Mysteries in Destiny 2 is a great way to acquire new gear from the Season of the Lost. Remember that the mysteries are scattered throughout the three areas of the Shattered Realm (Forest of Echoes, Debris of Dreams, and The Ruins of Wrath), so you will need to come back and continue your search once these locations are unlocked. Check out the Shacknews Destiny 2 Guide for more coverage of Season of the Lost.


-
Shacknews

 reply
replySam Chandler posted a new article, All Trivial Mysteries locations - Destiny 2
-
Found 4 of 5 on my own goofing off in there. Got a single gun. :(
-
-
Good thing we get an upgrade that negates it!
-
-
-

