

How to get the Wish-Ender Exotic bow in Destiny 2
Learn how to unlock the Wish-Ender bow, needed to destroy all the Corrupted Eggs around the Dreaming City.
The Wish-Ender Exotic bow is a late-game weapon that can only be earned after completing one of Destiny 2’s hardest activities, the Shattered Throne dungeon. Players who wish to get their hands on the Wish-Ender will need to jump through a few hoops, but it’s worth the effort, especially if players want to destroy all the Corrupted Eggs hidden around the Dreaming City.
How to get Wish-Ender Exotic bow
The first step in unlocking the Wish-Ender is to complete the Shattered Throne, a long and brutally challenging activity for anyone that is not well-prepared. An entire walkthrough is too lengthy to list here, so use the above link if you are unsure how to clear the Shattered Throne dungeon. For what it’s worth, the Shattered Throne has a higher recommended power than the Last Wish raid, which is already one of the most challenging activities in Destiny 2.
Go to the Tangled Shore

After speaking with the statue after the first boss fight, a new mission will be added to the map, but it will not be visible through the Director. Players will need to load up the Tangled Shore and go to the Four-Horn Gulch to locate a mission banner on the right-hand side of the area. The mission banner will offer no information other than a few question marks and a recommended power of 580. Interact with the glowing wisp to “prove your worth”.
Prove Your Worth
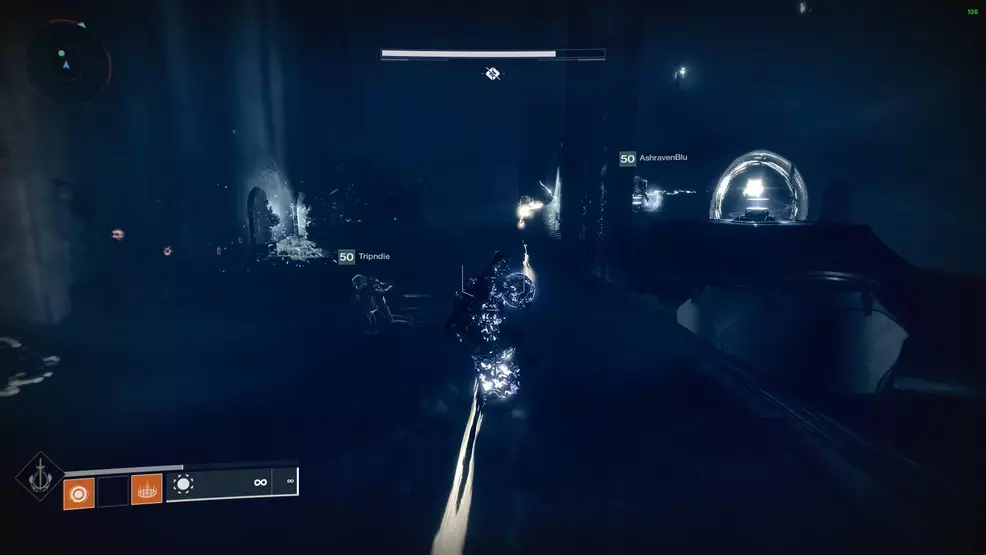
Interacting with the banner loads a new instance of the Tangled Shore. Head to the other side of Four-Horn Gulch and into the cave to reach a new area, Sjursrest. Interact with the plate near the door to unlock it, granting access to a new cavern. Fight through the many caves and tunnels to reach the main arena.

Once in the arena, destroy the Taken Blight in the center to remove the Archersbane Wizards’ shields. Kill the Wizards and prepare for the next fight. The center Blight will shoot out a few Taken bombs, which will then summon in three Taken enemies: Eriviks, the Dreaming; Querim, the Dreaming; and Xavoth, the Dreaming.

Defeat these three Taken champions to receive three tokens, each named after the enemies that were just defeated. These Dreaming Tokens must be charged by playing through the Shattered Throne.
Charge the Dreaming Tokens
To charge the three Dreaming Tokens, players must load up the Shattered Throne and replay through the dungeon once more, although they can stop shortly after the fight with the ogre. Each Dreaming Token is charged by defeating a boss, and each boss only appears after charging a relic.
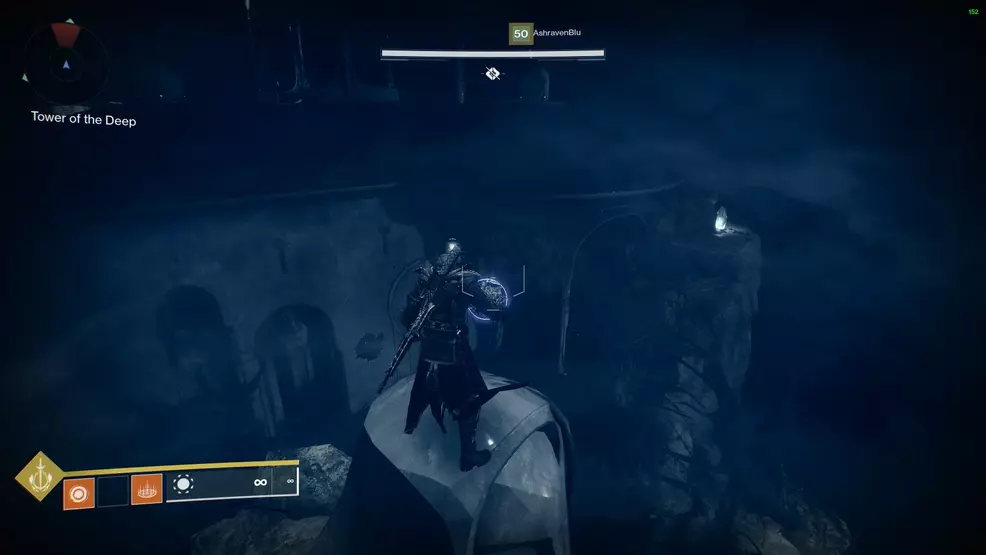
The Dreaming Token of Querim can be charged at the beginning of the Shattered Throne dungeon. In the area with all the symbols, head to the Tower of the Deep and use the surrounding rocks and statues to climb onto its roof. At the top will be a relic that must be taken to the roof of the center building which has several statues holding a ball. To easily reach this building, use the statue as a stepping-stone between the two roofs. Deposit the relic into the statue without a ball to summon the first boss, Theratos, Archersbane. Once Theratos dies, Querim, the Waking will spawn. Defeat Querim to charge the Dreaming Token of Querim, turning it into the Waking Token of Querim.
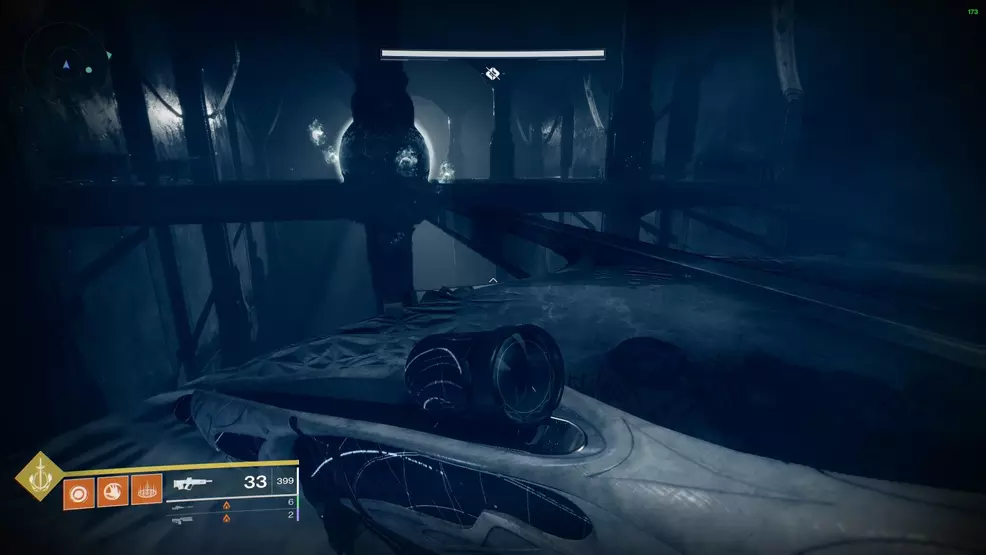
The next relic to charge is found during the rafters and ogres section of the Shattered Throne. Continue through the Shattered Throne to the large open room with the thin intersecting beams.
From the entrance, look to the right, the relic is located behind one of the pillars. Standing at the relic with the entrance on the left, the place to deposit the relic will be on the right-hand side of the room (opposite the entrance). It’s a good idea to clear out the ogres first.
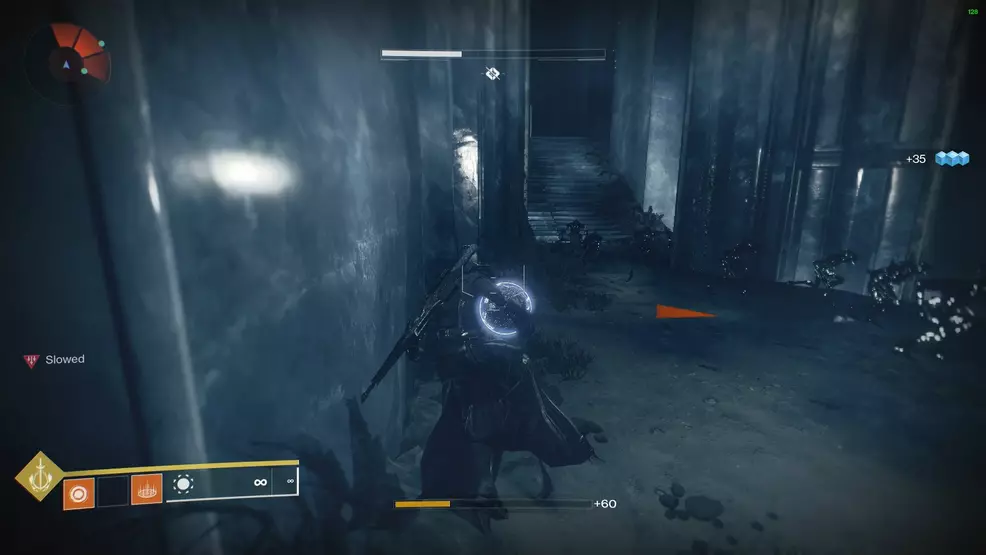
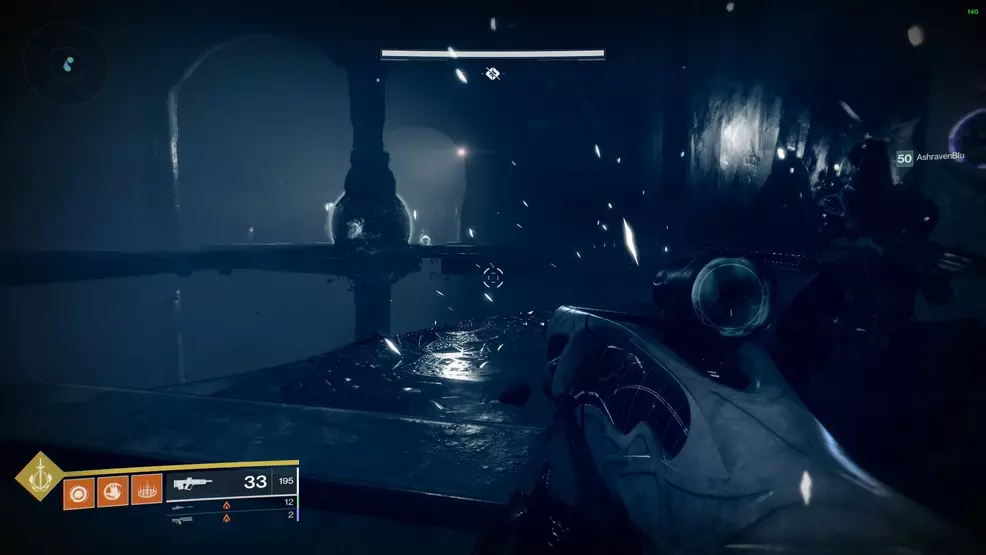
Before the next boss can be defeated, another relic must be charged. Continue to the hallways filled with Shadow Thrall. Enter the area that gives the Slowed debuff and head up the stairs and take a right. The relic will be in a bowl. Defend the relic holder as they fight through the hallways to the end.
The player with the relic must jump through the shadowy veil and down to the lower level. After landing, turn to the right to spot a statue without a ball. Deposit the relic and continue to the next area to charge the next Dreaming Token.

After depositing the relic, continue straight ahead, jumping the gap and go through the large doors. When all players are in the room, the doors will close. Kill all the enemies to summon Eriviks, the Waking. Defeat this Taken Captain to charge the Dreaming Token of Eriviks, turning it into the Waking Token of Eriviks.
The final relic and third Dreaming Token are charged during the boss fight against Vorgeth, the Boundless Hunger. Make sure you know how to defeat Vorgeth, the Boundless Hunger, as Xavoth, the Waking will not spawn unless one cycle is completed and Wish-Ender will not be earned unless the entire boss fight is finished.
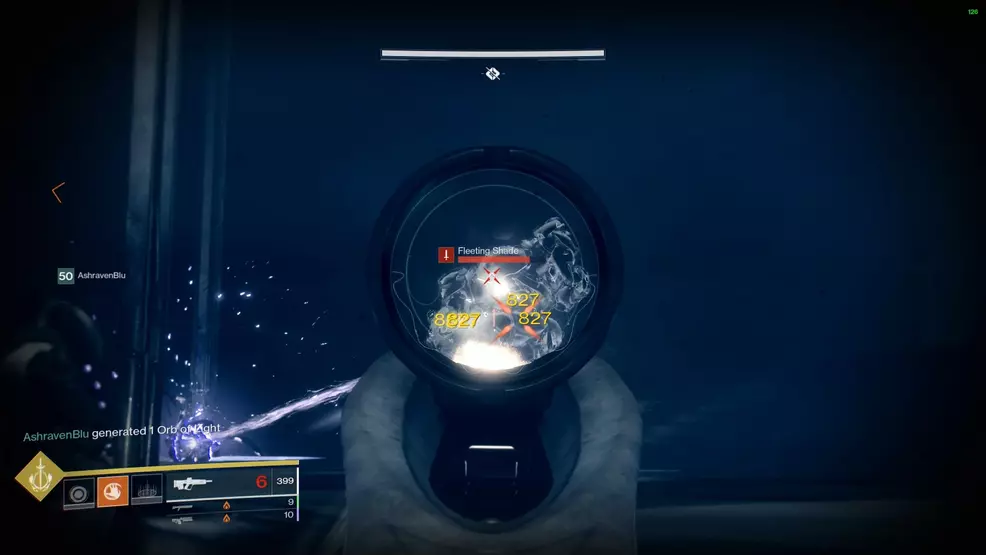
Defeat the four Wizards and extinguish one of the flames to summon a minotaur called Fleeting Shade. This enemy will be invisible and should spawn close to the steps at the rear of the room near the exit. Defeat the minotaur to summon the last relic on a plate at the stairs leading to the exit.
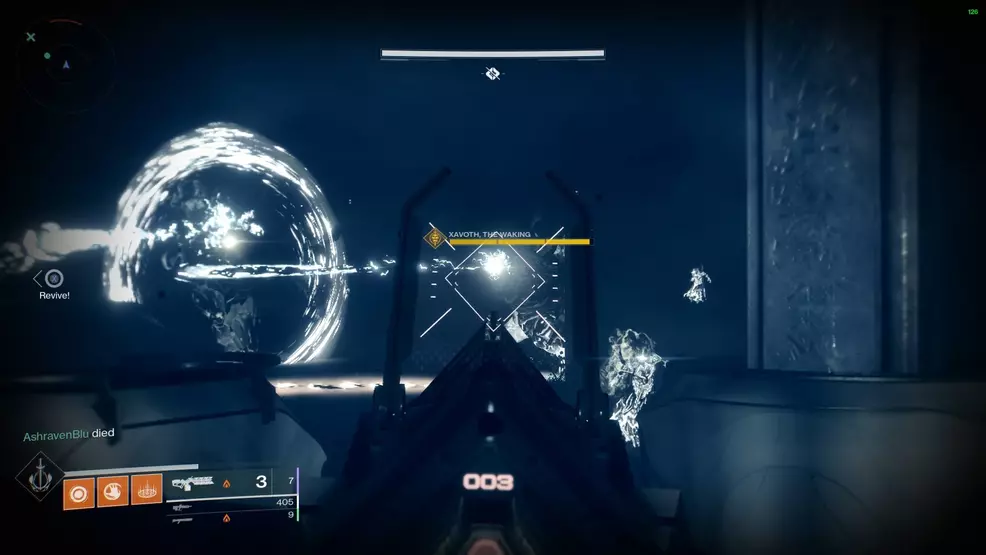
Carry the relic back to the entrance, the statue without a ball is on the left side of the room when facing the exit. The relic will only despawn if the entire team wipes, so take your time clearing out the smaller enemies, being sure to leave the Wizards and Vorgeth alive. Deposit the relic to summon Xavoth, the Waking. Defeat the Taken Ogre to turn the Dreaming Token of Xavoth into the Waking Token of Xavoth.
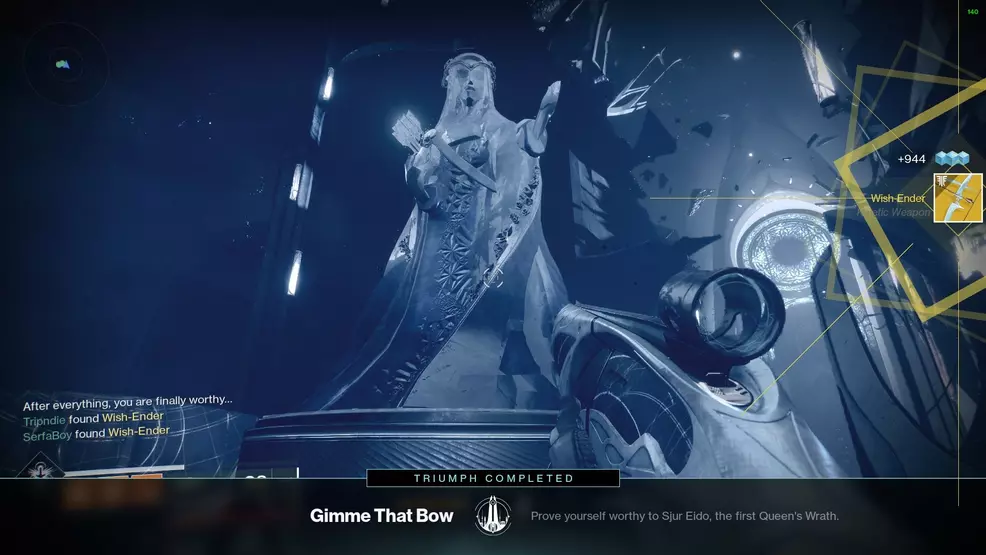
Defeat Vorgeth, the Boundless Hunger to unlock the exit. Continue up the stairs to the statue of Sjur Eido to see three bowls with alight. Approach the statue of Sjur Eido and hold the appropriate button to “collect loot”, unlocking the Wish-Ender Exotic bow.
Be sure to check out the Shacknews Destiny 2 Complete Strategy Guide for more comprehensive walkthroughs of all of Destiny 2: Forsaken’s content.


